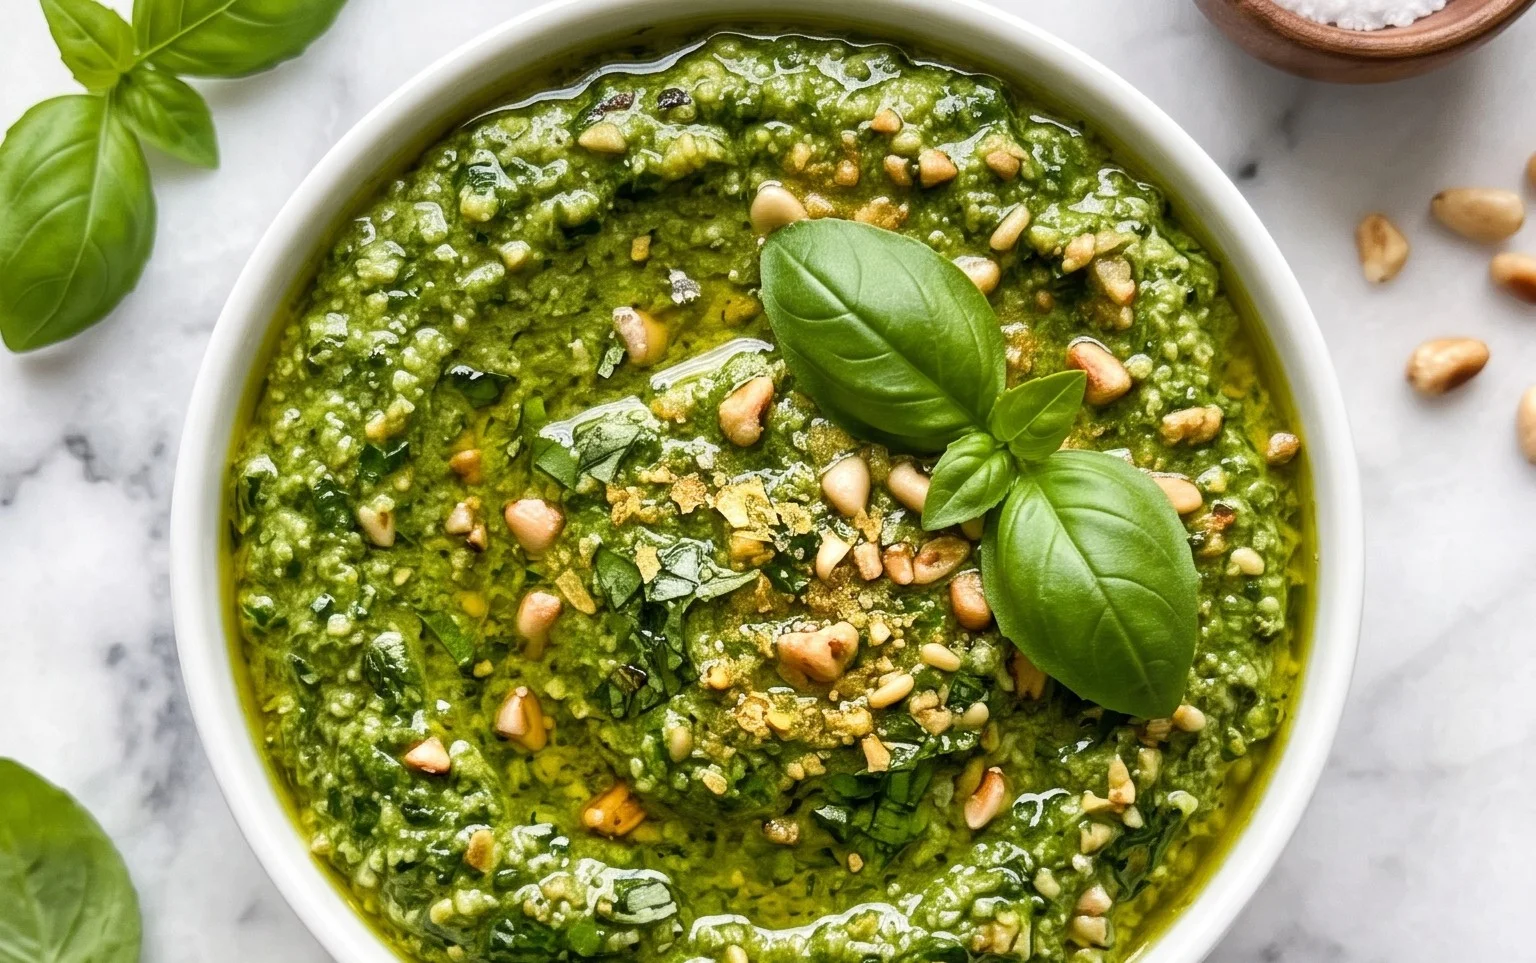
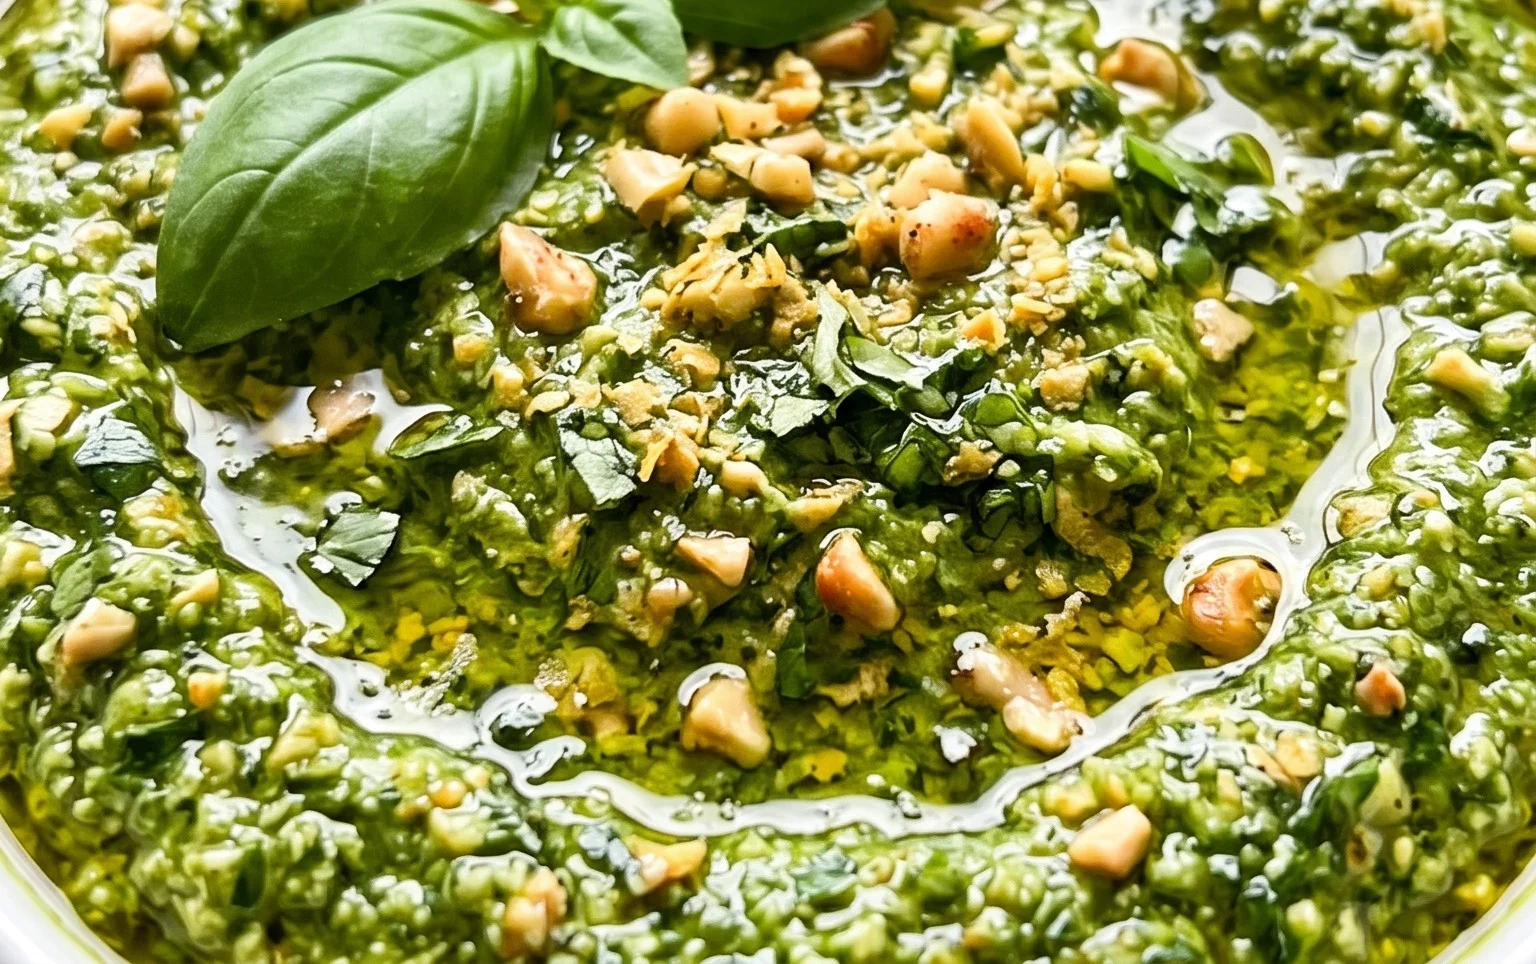
Dairy Free Pesto – Easy Delicious Vegan Recipe
Dairy Free Pesto is a revelation for anyone craving that vibrant, herbaceous goodness without the dairy. I used to think authentic pesto was out of reach if I wanted to avoid cheese, but oh, how wrong I was! This recipe is a game-changer. It captures the bright, zesty essence of basil, the nutty crunch of pine nuts, and the pungent kick of garlic, all elevated by a clever, dairy-free alternative that delivers a creamy texture and rich flavor profile. What makes this Dairy Free Pesto truly special is its versatility; it’s not just for pasta anymore. Imagin extracte slathering it on a grilled chicken breast, swirling it into a soup, or using it as a dip for fresh vegetables. It’s the perfect way to infuse almost any dish with a burst of Mediterranean sunshine and a satisfying depth of flavor that will leave everyone asking for your secret.
Dairy Free Pesto
Pesto is one of those magical sauces that can elevate a simple dish into something truly spectacular. Traditionally, pesto relies on Parmesan cheese for its salty, umami depth, but what if you’re dairy-free or vegan? Fear not! My dairy-free pesto recipe delivers all the vibrant, herbaceous flavor you crave, without a drop of dairy. This version uses nutritional yeast to achieve that savory, cheesy note, but the stars of the show are undeniably the fresh basil and fragrant garlic. It’s incredibly easy to make, incredibly versatile, and a fantastic addition to your culinary repertoire. Whether you’re tossing it with pasta, spreading it on toast, or dolloping it onto grilled vegetables, this pesto is a game-changer.
The beauty of homemade pesto lies in its freshness. Store-bought versions often lack the bright, punchy flavor that you can only get from freshly picked basil and hand-minced garlic. Plus, you have complete control over the quality of your ingredients. I love using a food processor for this recipe because it’s quick and efficient, but if you’re feeling traditional or don’t have one, a mortar and pestle will work wonderfully, just prepare for a bit of a workout! Let’s get started on this vibrant green goodness.
Ingredients:
Preparing Your Ingredients for Optimal Flavor
Before we dive into the blending process, taking a moment to prepare your ingredients properly will significantly enhance the final flavor of your dairy-free pesto. First, for the basil, ensure you’re using fresh, vibrant leaves. Gently wash them and then dry them thoroughly. Excess water can dilute the flavor and affect the texture. Packing them into your measuring cup is important to ensure you have enough basil – pesto is all about that fresh, herby punch!
The nuts, whether they are pine nuts, walnuts, or pumpkin seeds, benefit greatly from a quick toasting. This simple step awakens their natural oils and brings out a deeper, nuttier flavor profile. You can toast them in a dry skillet over medium heat for a few minutes, stirring constantly, until they are fragrant and lightly golden. Keep a close eye on them as they can burn quickly. Let them cool slightly before adding them to the food processor.
For the garlic, while some people enjoy raw garlic in their pesto, I find that a very light blanch or a quick sauté can mellow its sharpness, making it more palatable for a wider audience, especially if you’re not a huge raw garlic fan. You can do this by dropping the peeled cloves into boiling water for about 30 seconds, then immediately plungin extractg them into ice water, or you can gently sauté them in a tiny bit of olive oil until they are just fragrant, not browned. This is an optional step, but one I highly recommend for a smoother garlic flavor.
Step-by-Step Pesto Perfection
Now that all our ingredients are prepped and ready, it’s time to bring them together. This process is wonderfully straightforward and incredibly rewarding.
1. The Garlic and Nuts Go First: In the bowl of your food processor, add the peeled garlic cloves and the toasted pine nuts (or your chosen nut/seed). Pulse these a few times until they are roughly chopped. You don’t want a fine powder, but rather a coarse texture to start with. This initial pulse helps break down the garlic and nuts, making it easier for the basil to incorporate evenly.
2. Add the Basil and Seasonings: Now, add the packed basil leaves to the food processor. Also, add the salt and the nutritional yeast (if using). Secure the lid and process again. You’ll want to scrape down the sides of the bowl a few times to ensure everything is getting incorporated. Continue processing until the basil is finely chopped and the mixture starts to take on a vibrant green hue. Don’t over-process at this stage; we’re aiming for a finely chopped consistency, not a paste, before adding the oil.
3. Emulsify with Olive Oil: With the food processor running on a low speed, slowly drizzle in the extra virgin extract olive oil through the feed tube. This is where the magic of emulsification happens. The oil will bind the ingredients together, creating that smooth, luscious pesto texture we all love. Continue drizzling until the oil is fully incorporated and the pesto reaches your desired consistency. You may need to add a little more olive oil if you prefer a thinner pesto, or if your basil was particularly dry.
4. Incorporate the Lemon Juice: Once the pesto is emulsified, stop the food processor. Add the fresh lemon juice. Pulse a few more times to combine. The lemon juice adds a crucial bright, zesty note that cuts through the richness of the olive oil and balances the flavors. It also helps to preserve the vibrant green color of the basil. Taste your pesto at this point and adjust the salt and lemon juice as needed. This is your chance to personalize it to your palate!
5. Final Touches and Storage: Give your pesto one last scrape down and a final pulse to ensure everything is perfectly blended. Your delicious dairy-free pesto is now ready to be used! For the best flavor, it’s ideal to use it immediately. However, if you have leftovers, you can store it in an airtight container in the refrigerator for up to 5-7 days. To prevent browning, pour a thin layer of olive oil over the surface of the pesto before sealing the container. You can also freeze pesto in ice cube trays for single-serving portions that are perfect for quick weeknight meals. Simply pop out a cube or two and let it thaw. Enjoy the vibrant taste of fresh basil in so many delightful ways!
Conclusion:
I hope you’re as excited as I am to try this delicious dairy free pesto recipe! It’s truly a game-changer for anyone looking to enjoy the vibrant, herbaceous flavors of pesto without the dairy. This recipe is fantastic because it’s incredibly versatile, surprisingly easy to whip up, and packed with fresh, wholesome ingredients. Whether you’re vegan, lactose intolerant, or simply want to explore a new culinary avenue, this dairy free pesto proves you don’t need cheese to achieve that irresistible umami depth and creamy texture. It’s perfect for pasta, as a spread on sandwiches, a dip for veggies, or even drizzled over grilled proteins. Don’t be afraid to experiment with different nuts or herbs to make it your own!
Give this dairy free pesto a go – you might just find it becomes your new go-to sauce!
Frequently Asked Questions about Dairy Free Pesto:
Q: How long does dairy free pesto last?
A: Stored in an airtight container in the refrigerator, this dairy free pesto should last for about 5-7 days. To maximize freshness, you can top the surface with a thin layer of olive oil before sealing.
Q: Can I freeze dairy free pesto?
A: Absolutely! Freezing is a great way to preserve its deliciousness. You can portion it into ice cube trays and freeze until solid, then transfer the cubes to a freezer bag. This makes it easy to grab a small amount for quick meals. It should keep well in the freezer for up to 3 months.
Q: What are some good nut alternatives if I have a nut allergy?
A: For a nut-free version, sunflower seeds are an excellent substitute. Pumpkin seeds also work wonderfully, adding a slightly different but equally delightful flavor profile. You can even try toasted oats for a unique twist, though the texture will be a bit different.
Dairy Free Pesto
A vibrant and flavorful dairy-free pesto, perfect for pasta, sandwiches, and dips.
Ingredients
-
3 cups basil
-
1/2 lemon (juiced)
-
1/2 cup pine nuts
-
2 cloves garlic
-
1/4 cup olive oil
-
1/2 tsp salt
-
2 tbsp nutritional yeast
Instructions
-
Step 1
In a food processor, combine basil, pine nuts, garlic, and nutritional yeast. -
Step 2
Pulse until coarsely chopped. -
Step 3
Slowly drizzle in the olive oil while the food processor is running, until the pesto is smooth. -
Step 4
Add the lemon juice and salt, and pulse to combine. -
Step 5
Taste and adjust seasoning as needed. -
Step 6
Transfer to a jar and store in the refrigerator.
Important Information
Nutrition Facts (Per Serving)
It is important to consider this information as approximate and not to use it as definitive health advice.
Allergy Information
Please check ingredients for potential allergens and consult a health professional if in doubt.