Nut-Free Pesto – Delicious Allergy-Friendly Recipe
Nut Free Pesto, the vibrant green sauce that transforms pasta, sandwiches, and virtually anything it touches, is a culinary hero for so many of us. But for those navigating nut allergies, the traditional pine nut-laden version has often been off-limits. That’s where this incredible nut free pesto recipe comes in! We’re reclaiming the classic basil goodness without any of the worry. Imagin extracte the bright, herbaceous notes of fresh basil, the zing of garlic, the richness of Parmesan, all balanced to perfection. This isn’t just a workaround; it’s a revelation. We’ve discovered a secret to achieving that same satisfying texture and depth of flavor, making this nut free pesto a staple in my kitchen. Get ready to experience pesto in a whole new, inclusive way.
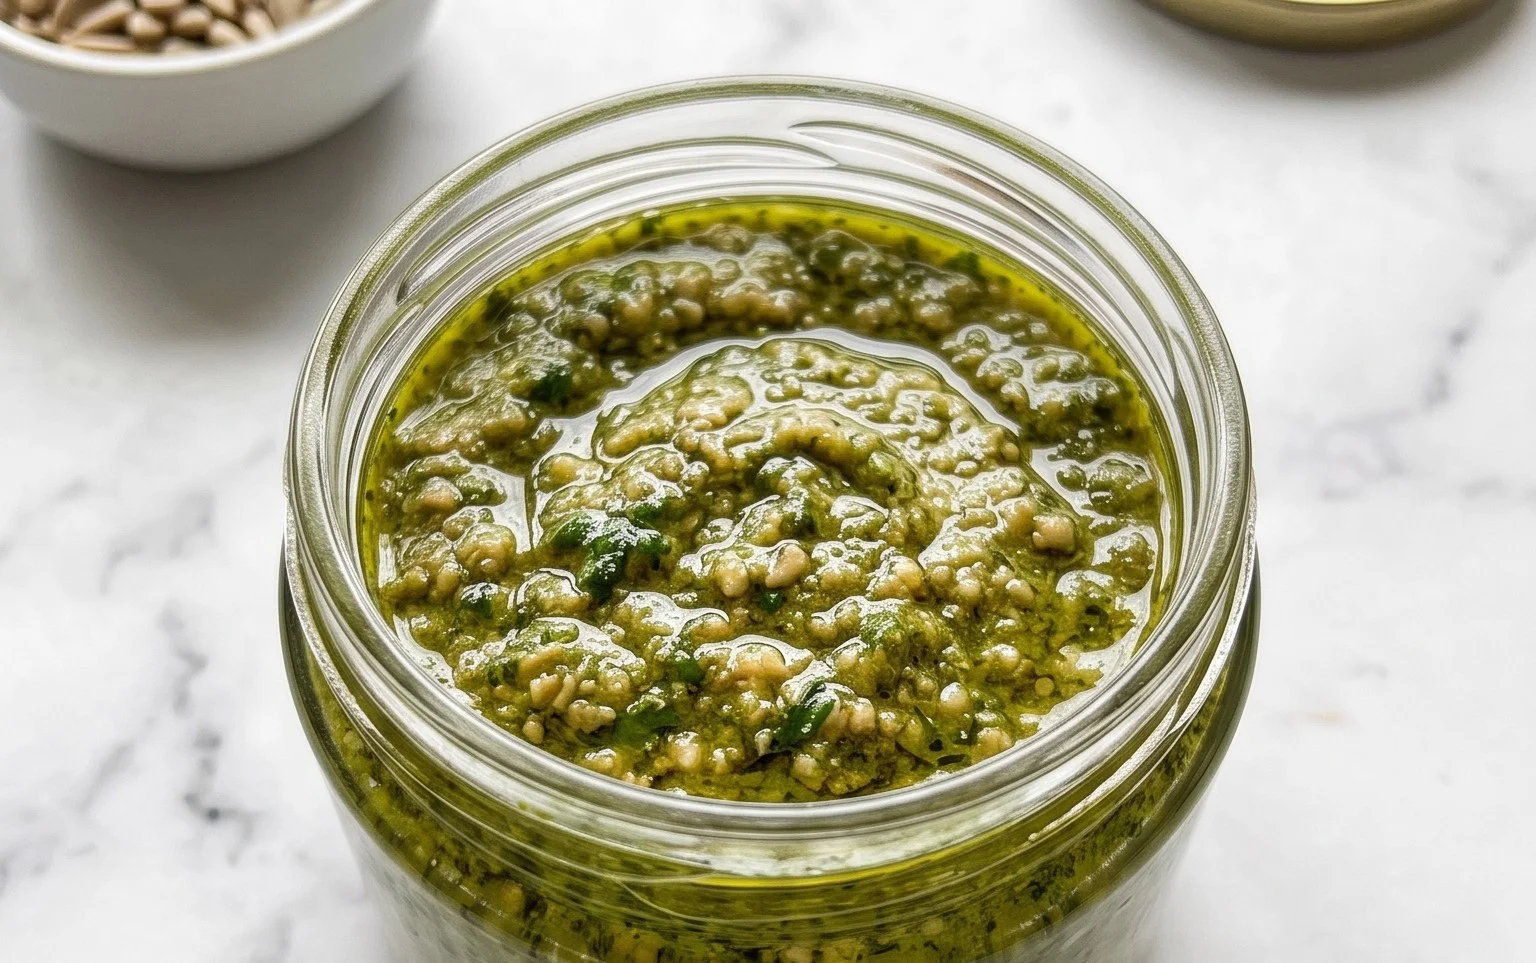
Nut-Free Pesto: A Creamy, Dreamy Alternative for Everyone
For many, pesto conjures up images of vibrant green sauce, rich with the aroma of basil and the satisfying crunch of pine nuts. But for those with nut allergies, or when simply aiming for a nut-free kitchen, this classic is often off-limits. Fear not! Today, we’re diving into a delicious and incredibly versatile nut-free pesto recipe that captures all the essence of the origin extractal without any of the allergens. This recipe is perfect for pasta, spreading on sandwiches, drizzling over grilled vegetables, or even as a dip. It’s incredibly easy to make and offers a fresh, bright flavor that’s simply irresistible. You might find yourself reaching for this nut-free version even when nuts aren’t a concern – it’s that good!
Ingredients:
Crafting Your Nut-Free Pesto
Creating this pesto is a wonderfully simple process, relying on the freshness of your ingredients to shine. The key is to achieve a smooth, emulsified sauce that coats the back of a spoon beautifully. We’ll be using a food processor for ease and speed, but a mortar and pestle can also be used for a more traditional, hands-on approach if you have the time and inclination.
Step 1: Prepare Your Basil
Start by ensuring your basil is fresh and vibrant. Gently wash the basil leaves under cool water and then pat them thoroughly dry with paper towels or a clean kitchen towel. This step is crucial because excess moisture can dilute the flavor of your pesto and make it more watery. You want those pure basil oils to be the star. If your basil stems are very woody, you can strip the leaves from the thicker stems, but often the tender parts of the stems are perfectly fine to include and add to the flavor. We’re aiming for about 2 packed cups of basil leaves. Don’t be shy; pack them in there!
Step 2: Add the Aromatics
Next, add your peeled garlic cloves to the bowl of your food processor. Garlic is a powerful flavor enhancer, and in pesto, it provides that quintessential pungent kick. You can adjust the amount of garlic to your personal preference. If you’re a garlic lover, feel free to add an extra clove. For a milder flavor, you might start with just one. Once the garlic is in, it’s time to add the star of the show: the basil. Add your packed basil leaves to the food processor. At this stage, the bowl might look quite full, but the basil will quickly break down.
Step 3: Introduce the Cheese and Seasonings
Now, let’s bring in the savory element with the freshly grated Parmesan cheese. Using freshly grated cheese is a game-changer for pesto. Pre-shredded cheeses often contain anti-caking agents that can affect the texture and flavor of your pesto, making it less smooth and slightly gritty. The sharp, salty notes of Parmesan are essential for balancing the freshness of the basil. Sprinkle in the 1/2 cup of freshly grated Parmesan cheese. Follow this with your salt and pepper. The salt will help to bring out all the flavors, and the pepper adds a subtle warmth. Remember, you can always add more salt at the end if you feel it needs it, but it’s harder to take it away.
Step 4: Blend and Emulsify
This is where the magic happens! Secure the lid on your food processor and begin extract to pulse the ingredients. You’ll want to pulse until the basil and garlic are finely chopped. Don’t be tempted to just let the processor run continuously at this point; pulsing will give you more control over the texture. As the ingredients start to break down, you’ll begin extract to see a coarse paste forming. This is the perfect time to start adding the olive oil. With the food processor running on low speed (or through the feed tube while pulsing), slowly drizzle in the 1/4 cup of olive oil. This gradual addition of oil is what emulsifies the pesto, creating that wonderfully smooth and cohesive sauce. Continue to process until the pesto reaches your desired consistency. For a chunkier pesto, process for less time. For a smoother, more uniform sauce, process for a bit longer. It should look like a vibrant green, slightly thick sauce.
Step 5: Taste and Adjust
Once your pesto has reached your preferred consistency, it’s time for the most important step: tasting and adjusting. Stop the food processor and carefully scrape down the sides of the bowl with a spatula to ensure everything is incorporated. Take a small spoonful and taste it. Does it need a touch more salt? A little more pepper for a hint of heat? Perhaps you want to add a tiny bit more Parmesan for an extra cheesy kick? This is your chance to customize the flavor to your liking. If you find it’s a little too thick for your liking, you can always add another tablespoon of olive oil, a little at a time, until you reach the desired consistency. Be careful not to over-process once you’ve achieved your ideal texture.
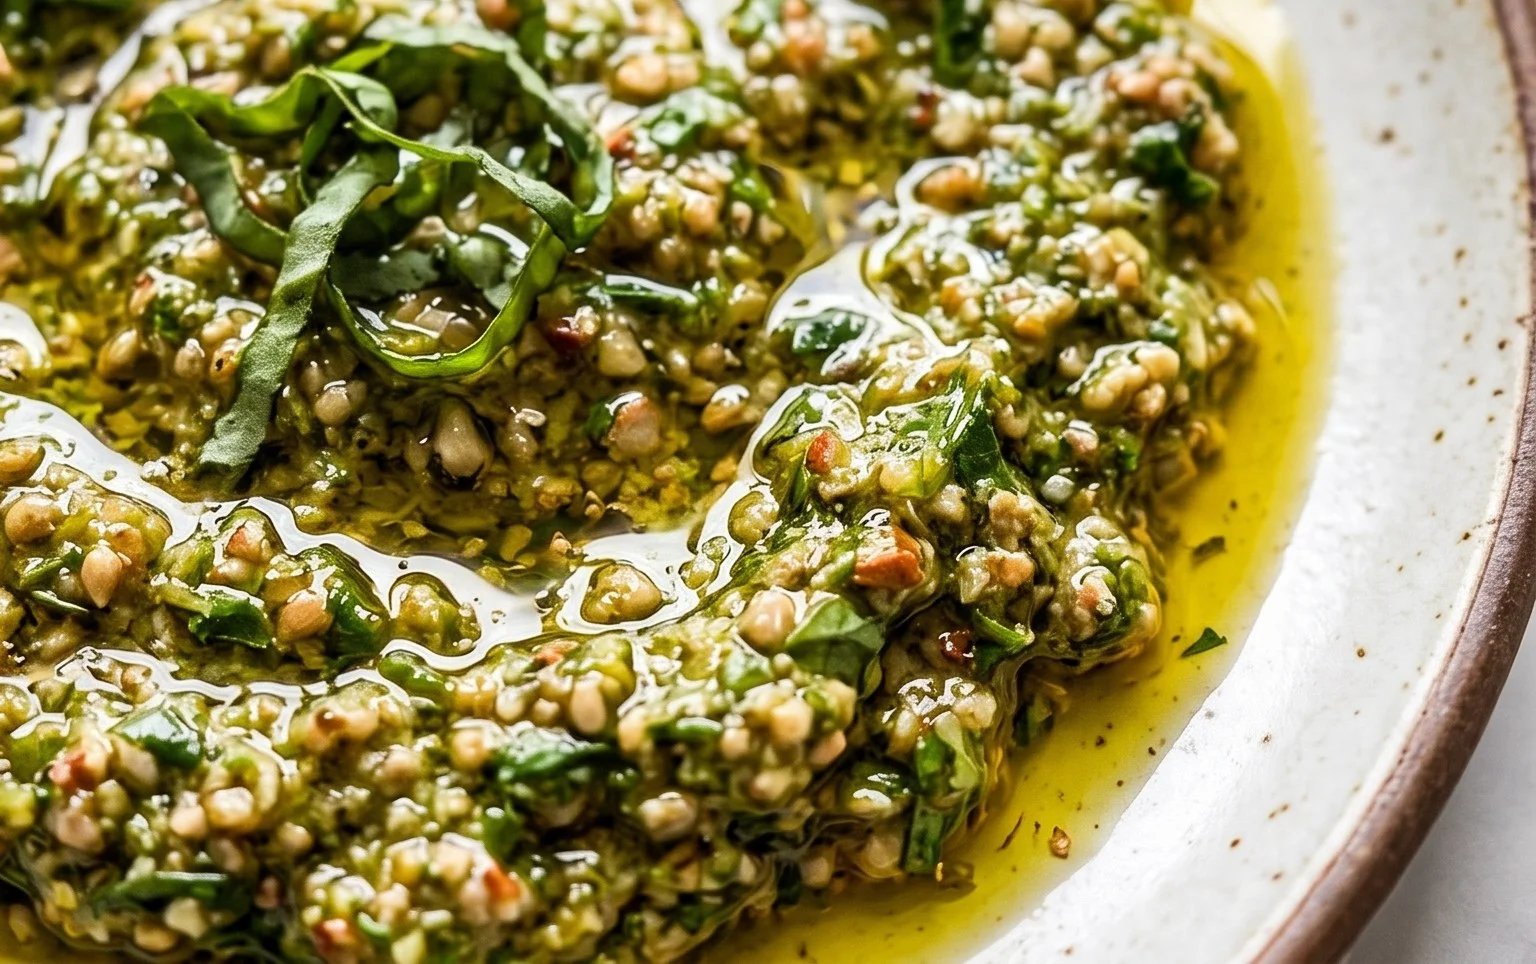
Your delicious, nut-free pesto is now ready to be enjoyed! Store it in an airtight container in the refrigerator for up to a week, or freeze it in an ice cube tray for smaller, convenient portions. Drizzle it generously and savor every bite!
Conclusion:
I hope you’ve enjoyed learning how to make this delicious nut-free pesto! It’s truly a game-changer for anyone with nut allergies or looking for a dairy-free alternative, proving that you don’t need pine nuts to achieve that classic vibrant flavor. This nut-free pesto is incredibly versatile, packed with fresh herbs, garlic, and a tangy zest. It’s perfect for jazzing up pasta dishes, spreading on sandwiches, dolloping onto roasted vegetables, or even as a dip for crunchy breadsticks. Feel empowered to experiment with this recipe; it’s wonderfully forgiving and adaptable to your preferences.
Don’t hesitate to give this nut-free pesto a try. I’m confident you’ll love how easy it is to whip up and how it elevates so many meals. Get creative with your additions and discover your own favorite ways to enjoy it!
Frequently Asked Questions:
What can I use instead of pine nuts in pesto?
In this nut-free pesto recipe, we’ve used sunflower seeds. They provide a wonderful creamy texture and a subtle nutty flavor without the allergens. Pumpkin seeds or even toasted oats can also be good alternatives, offering slightly different taste profiles and textures.
How long does nut-free pesto last in the refrigerator?
Properly stored in an airtight container with a thin layer of olive oil on top to prevent oxidation, this nut-free pesto should last for about 5-7 days in the refrigerator. You can also freeze it in ice cube trays for smaller, convenient portions that last much longer.
Nut-Free Pesto
A classic pesto recipe made without nuts, perfect for those with allergies or for a lighter alternative.
Ingredients
-
2 cups fresh basil
-
2 garlic cloves
-
1/2 cup freshly grated Parmesan cheese
-
1/4 cup olive oil
-
1/4 teaspoon salt
-
1/8 teaspoon pepper
Instructions
-
Step 1
Wash and thoroughly dry the fresh basil leaves. -
Step 2
Peel the garlic cloves. -
Step 3
In a food processor, combine the basil leaves and garlic cloves. Pulse until roughly chopped. -
Step 4
Add the grated Parmesan cheese, olive oil, salt, and pepper to the food processor. -
Step 5
Process until the pesto is smooth and well combined. Scrape down the sides as needed. -
Step 6
Taste and adjust seasoning if necessary. Serve immediately or store in an airtight container.
Important Information
Nutrition Facts (Per Serving)
It is important to consider this information as approximate and not to use it as definitive health advice.
Allergy Information
Please check ingredients for potential allergens and consult a health professional if in doubt.