Easy No-Knead Focaccia Bread Recipe
No-knead focaccia bread is about to become your new kitchen obsession. Forget about the strenuous workouts and sticky dough; this recipe redefines simplicity and delivers unbelievably delicious results with minimal effort. There’s something inherently comforting and celebratory about a warm, fragrant loaf of focaccia, and this no-knead version taps right into that joy, making it accessible to even the most novice bakers. What truly sets this no-knead focaccia bread apart is its magical transformation from a shaggy, wet dough into a cloud-like interior with a perfectly crisp, golden crust, all thanks to a bit of patience and a hot oven. The aroma that fills your kitchen as it bakes is simply non-intoxicating, a promise of the delightful texture and rich, olive oil-infused flavor that awaits. Prepare to impress yourself and everyone you share it with!

Ingredients:
- 4¾ cups all-purpose flour (630 grams)
- 4½ tablespoons olive oil (59 grams), plus more for greasing and drizzling
- 2 teaspoons salt (12 grams)
- 1½ tablespoons instant dry yeast (13 grams)
- 2⅓ cups warm water (100–110°F; 529 grams)
- Coarse salt (optional, for topping)
- Dried rosemary (optional, for topping)
Getting Started: Preparing the Dough
This No-Knead Focaccia Bread recipe is designed for simplicity and maximum flavor, relying on a long fermentation to develop its airy crum extractb and chewy texture. The key to this method is patience and allowing the dough to do the work for you.
First, in a very large mixing bowl, combine the all-purpose flour and 2 teaspoons of salt. Whisk them together thoroughly to ensure the salt is evenly distributed throughout the flour. This is important for consistent flavor and dough development. Next, add the instant dry yeast to the dry ingredients. Give it another quick whisk to incorporate. Instant yeast can be mixed directly with the flour without proofing, which simplifies the process.
Now, pour in the warm water. The water should be between 100–110°F (38–43°C). If it’s too hot, it can kill the yeast; too cold, and it won’t activate properly. Add the 4½ tablespoons of olive oil to the bowl. This olive oil will contribute to the richness and tenderness of the finished bread.
Using a sturdy spoon or a spatula, mix everything together until no dry flour remains. The dough will be very wet and shaggy, almost like a thick batter. Don’t be alarmed by its consistency; this is exactly what we want for a no-knead bread. It’s meant to be very high hydration, which leads to that desirable open, airy interior. Avoid the temptation to add more flour at this stage, no matter how sticky it seems.
First Rise: Developing Flavor and Texture
Once the dough has come together into a cohesive, albeit sticky, mass, cover the bowl tightly with plastic wrap or a damp kitchen towel. Place the bowl in a warm spot in your kitchen to rise. A good place is on top of the refrigerator or near a slightly warm oven (make sure the oven is off!). Allow the dough to rise for at least 2 hours, or until it has at least doubled in size. For an even more developed flavor, you can let it rise for up to 4 hours. The longer, slower rise allows the yeast to work its magic, creating complex flavors and a lighter texture.
After the initial rise, the dough will be noticeably puffier and bubbly. This is a good sign that the gluten has started to develop without any kneading. You’ll see beautiful air pockets forming within the dough.
Second Rise and Shaping: Creating the Focaccia Form
Generously grease a 9×13 inch baking pan or a similar-sized rimmed baking sheet with olive oil. Don’t be shy with the oil; it contributes to the crispy bottom and edges of the focaccia. Gently scrape the risen dough from the bowl into the prepared baking pan. It will be sticky and will spread slowly. Resist the urge to punch it down. Instead, use oiled fingertips to gently coax and spread the dough towards the edges of the pan. It won’t reach the edges immediately, and that’s okay.
Cover the pan loosely with plastic wrap or a clean kitchen towel and let it rise again for another 30 to 60 minutes, or until the dough has puffed up and fills most of the pan. This second rise is crucial for achieving that characteristic thick, pillowy focaccia. During this time, the dough will relax and spread further, filling any gaps.
Once the dough has completed its second rise, it’s time to dimple! Drizzle a generous amount of olive oil over the surface of the dough. Then, using your oiled fingertips, gently press into the dough, creating deep dimples all over its surface. These dimples are characteristic of focaccia and help to hold the toppings and create those lovely pockets of olive oil.
Topping and Baking: The Final Flourish
Preheat your oven to 425°F (220°C). This higher temperature is essential for achieving a beautifully golden and crispy crust. If you’re using optional toppings, now is the time to sprinkle them over the dimpled dough. Scatter coarse salt evenly across the surface for a lovely crunch and salty bite. If you like, you can also sprinkle dried rosemary for an aromatic touch. Ensure the toppings are distributed across the entire surface to maximize flavor.
Place the baking pan in the preheated oven and bake for 25 to 35 minutes. The focaccia is ready when it’s deeply golden brown on top and the bottom is also nicely browned and crispy. You can carefully lift an edge with a spatula to check the bottom.
Cooling and Serving: The Best Part
Once baked, carefully remove the focaccia from the oven. Drizzle a little more olive oil over the hot bread – this is optional but highly recommended for extra flavor and a shiny finish. Let the focaccia cool in the pan for at least 10–15 minutes before attempting to remove it. This cooling period allows the bread to set and makes it easier to handle.
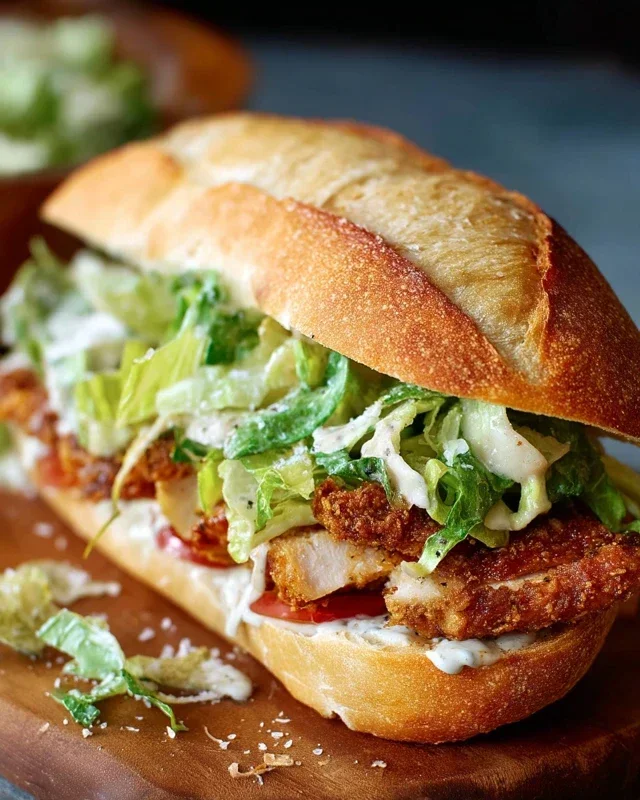
Once slightly cooled, carefully transfer the focaccia to a wire rack to cool further, or slice it directly from the pan. This No-Knead Focaccia Bread is fantastic served warm, with a drizzle of extra virgin extract olive oil for dipping, or used as a base for sandwiches. Its rustic charm and incredible texture make it a crowd-pleaser. Enjoy the fruits of your patient labor!

Conclusion:
I hope you’ve enjoyed learning how to make this incredible No-Knead Focaccia Bread! This recipe truly proves that you don’t need advanced baking skills or hours of work to achieve a beautifully risen, wonderfully chewy, and incredibly flavorful focaccia. The simplicity of the no-knead method makes it accessible to everyone, and the results are consistently impressive. Imagin extracte the aroma filling your kitchen as it bakes – it’s pure bliss!
This versatile No-Knead Focaccia Bread is fantastic served warm as a side to your favorite soups and salads, or as the base for delicious sandwiches. For a more indulgent experience, consider drizzling it with egin extracta virgin olive oil and a sprinkle of flaky sea salt right out of the oven. You can also get creative with toppings! Think fresh rosemary, cherry tomatoes, olives, or even caramelized onions. Don’t be afraid to experiment with different herbs and seasonings to make it your own.
Give this No-Knead Focaccia Bread a try, and I’m confident it will become a regular in your baking repertoire. The joy of pulling a perfectly golden loaf from your oven is truly rewarding, and this recipe makes it so easy to achieve. Happy baking!
Frequently Asked Questions about No-Knead Focaccia Bread:
Q: How long does the dough need to rise for this No-Knead Focaccia Bread?
The dough for No-Knead Focaccia Bread typically requires a long, slow rise at room temperature, usually between 12 to 24 hours. This extended fermentation period is what develops the gluten structure without the need for kneading, leading to its characteristic airy texture.
Q: Can I use different flours in my No-Knead Focaccia Bread?
While the recipe is designed for all-purpose flour, you can experiment with adding a portion of bread flour for a chewier crust, or even a small amount of whole wheat flour for added flavor and nutrition. However, be mgin extractful that changing the flour ratio might affect the dough’s hydration and rise, so make adjustments gradually.
Q: My No-Knead Focaccia Bread came out a bit dense. What might have gone wrong?
A dense focaccia can sometimes be due to not allowing enough time for the dough to rise, or the dough not being wet enough. Ensure you’re letting the dough ferment for the full recommended time, and that it has a very wet, shaggy consistency before its final proof. Over-handling the dough after its long rise can also knock out precious air bubbles.
Easy No-Knead Focaccia Bread Recipe
A simple and flavorful no-knead focaccia bread recipe that relies on a long fermentation for an airy crumb and chewy texture.
Ingredients
-
4¾ cups all-purpose flour (630 grams)
-
4½ tablespoons olive oil (59 grams), plus more for greasing and drizzling
-
2 teaspoons salt (12 grams)
-
1½ tablespoons instant dry yeast (13 grams)
-
2⅓ cups warm water (100–110°F; 529 grams)
-
Coarse salt (optional, for topping)
-
Dried rosemary (optional, for topping)
Instructions
-
Step 1
In a large bowl, whisk together flour and salt. Add instant dry yeast and whisk again. Pour in warm water and olive oil. Mix with a spoon or spatula until no dry flour remains. The dough will be wet and shaggy. -
Step 2
Cover the bowl tightly and let the dough rise in a warm spot for at least 2 hours, or up to 4 hours, until doubled in size. -
Step 3
Generously grease a 9×13 inch baking pan with olive oil. Gently scrape the dough into the pan and use oiled fingertips to spread it towards the edges. Cover loosely and let rise again for 30-60 minutes until puffy. -
Step 4
Preheat oven to 425°F (220°C). Drizzle olive oil over the dough and create dimples with oiled fingertips. Sprinkle with optional coarse salt and dried rosemary. -
Step 5
Bake for 25-35 minutes, until deeply golden brown on top and crispy on the bottom. -
Step 6
Remove from oven, drizzle with more olive oil if desired. Let cool in the pan for 10-15 minutes before transferring to a wire rack or slicing.
Important Information
Nutrition Facts (Per Serving)
It is important to consider this information as approximate and not to use it as definitive health advice.
Allergy Information
Please check ingredients for potential allergens and consult a health professional if in doubt.