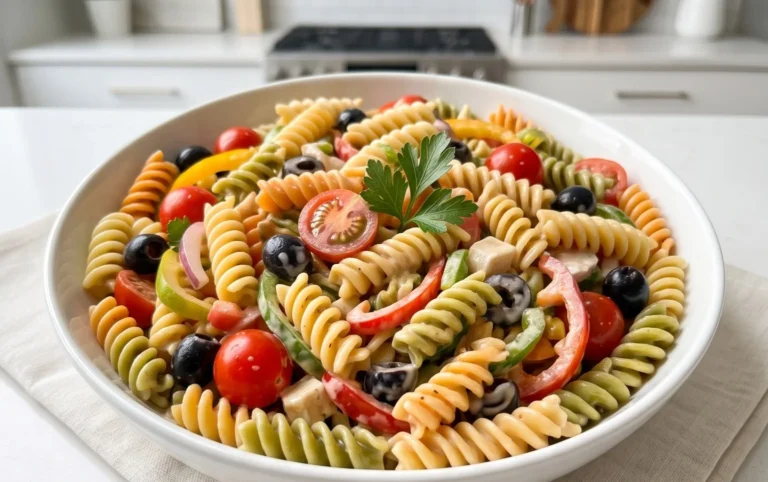
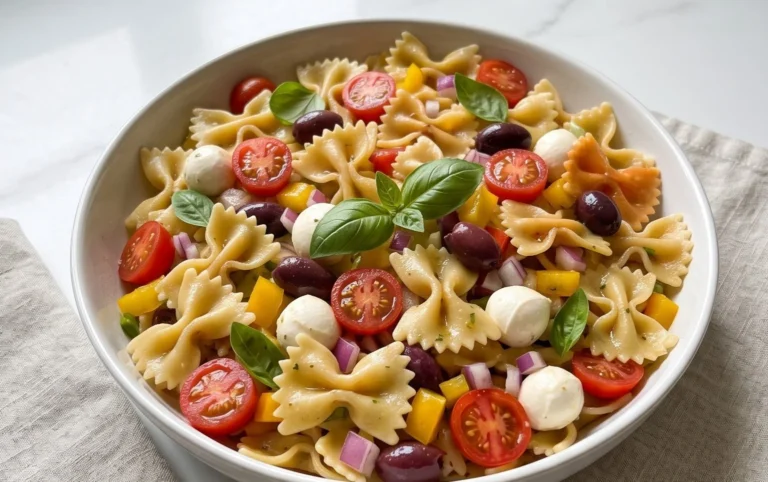
Spicy Tuna Onigiri Recipe- Quick & Flavorful Japanese Rice Balls
Spicy Tuna Onigiri is more than just a snack; it’s a delightful dance of flavors and textures that has captured hearts (and stomachs!) worldwide. There’s something incredibly satisfying about the perfectly seasoned, slightly fiery tuna nestled within warm, comforting rice, all wrapped snugly in crisp nori. People adore Spicy Tuna Onigiri for its incredible versatility – it’s a fantastic on-the-go lunch, a flavorful appetizer, or even a light dinner when you crave something quick and delicious. What truly elevates this classic Japanese rice ball is the perfect balance of heat from the chili, the savory depth of the tuna, and the subtle sweetness of the rice, creating a taste sensation that’s both familiar and exciting.
Why This Spicy Tuna Onigiri Recipe is a Must-Try
A Burst of Flavor in Every Bite
This isn’t just any Spicy Tuna Onigiri; this recipe is crafted to deliver an unforgettable taste experience. We’ve perfected the ratio of ingredients to ensure each bite is a harmonious blend of spicy, savory, and subtly sweet. Forget bland or overly mushy rice balls; ours are designed for optimal texture and maximum flavor impact. The secret lies in the quality of the tuna and the careful selection of seasonings that create a truly authentic and craveable Spicy Tuna Onigiri that will have you reaching for seconds (and thirds!).

Ingredients:
- 3 cups cooked short-grain rice (sushi rice)
- 1/2 teaspoon salt
- 1/2 sheet nori (seaweed), cut into strips or small pieces
- 1/2 teaspoon black sesame seeds (optional, for garnish)
- Water, for moistening hands and utensils
- 5.29 oz canned tuna (in oil is preferred for flavor and texture)
- 2 tablespoons mayonnaise (Japanese mayonnaise is excellent for its creamy texture and slight sweetness, but regular mayonnaise works too)
- 1 tablespoon sriracha sauce (or your favorite hot sauce, adjust to your spice preference)
Preparing the Spicy Tuna Filling
Step 1: Drain and Flake the Tuna
Begin extract by opening your can of tuna. If you’re using tuna packed in oil, drain it thoroughly. You can gently press the tuna against the side of the can with a fork to remove excess oil. If your tuna is packed in water, ensure it’s well-drained. Once drained, transfer the tuna to a small bowl. Use a fork to flake the tuna into small, bite-sized pieces. This will help distribute the flavors evenly and make it easier to mix with the other filling ingredients. Aim for a consistent texture, avoiding large clumps.
Step 2: Mix the Spicy Tuna Filling
To the flaked tuna, add the mayonnaise and sriracha sauce. Start with the amounts listed, but feel free to adjust them to your personal taste. If you like it spicier, add a little more sriracha. If you prefer a creamier filling, a touch more mayonnaise can be added. Use your fork to thoroughly combine the tuna, mayonnaise, and sriracha until everything is well-incorporated and the tuna mixture has a uniform pinkish-orange hue. Taste a small bit of the mixture to ensure the seasoning and spice level are to your liking. Set this bowl aside while you prepare the rice.
Assembling the Spicy Tuna Onigiri
Step 3: Season and Prepare the Rice
Your cooked short-grain rice should be warm but not piping hot. If it’s too hot, it will be difficult to handle, and if it’s too cold, it won’t hold its shape well. In a separate bowl, mix the 1/2 teaspoon of salt into the warm rice. Gently stir to distribute the salt evenly. This seasoning is crucial for the flavor of the onigiri. It’s important to use short-grain rice, often labeled as sushi rice, because its starch content allows it to clump together effectively, which is essential for forming the onigiri. As you work, keep a small bowl of water nearby. This water is vital for preventing the rice from sticking to your hands.
Step 4: Forming the Onigiri Shape
Take a portion of the seasoned rice, about a generous handful, and place it in your dampened palm. Wetting your hands is key to preventing the sticky rice from adhering to your skin. Gently cup the rice in your hangin extractnd begin to form a loose ball. Create a small indentation in the center of the rice ball with your finger. This indentation will serve as the pocket for your spicy tuna filling. Don’t press too hard at this stage; you want the rice to remain somewhat airy.
Step 5: Filling and Shaping the Onigiri
Carefully spoon about a tablespoon of the spicy tuna filling into the indentation you created in the rice. Be generous but don’t overfill, as it can make sealing the onigiri difficult. Once the filling is in place, gently bring the edges of the rice around the filling, encasing it comgin extracttely. Now, begin to gently shape the onigiri. You can form it into a traditional triangle, a round ball, or even a more flattened disc. Use both hands, cupping the rice and applying gentle pressure to mold it into your desired shape. If the rice starts to stick, re-moisten your hands with a little water. Continue to gently press and rotate the onigiri until it holds its shape firmly and the filling is securely enclosed. Repeat this process for the remaining rice and filling.
Step 6: Adding the Nori and Sesame Seeds
Once your onigiri are shaped, it’s time for the final touches. Take the strips or pieces of nori and wrap them around the onigiri. You can wrap a strip around the base, or cover the entire onigiri if you prefer. The slight moisture from the rice will help the nori adhere. If you’re using black sesame seeds, sprinkle them over the top or sides of the onigiri for visual appeal and a subtle nutty flavor. These additions not only enhance the look of your spicy tuna onigiri but also add an extra layer of texture and taste. Your delicious, homemade spicy tuna onigiri are now ready to be enjoyed!

Conclusion:
There you have it – a complete guide to creating delicious and satisfying Spicy Tuna Onigiri right in your own kitchen! We’ve covered everything from selecting the best rice to achieving that perfect shape, and of course, crafting the flavorful spicy tuna filling. This recipe is incredibly rewarding to make, and the versatility of onigiri means you can enjoy them for breakfast, lunch, a quick snack, or even as part of a larger bento box. Don’t be afraid to get your hands a little sticky; it’s all part of the fun! Experiment with different spice levels and see what tantalizing combinations you discover. Happy rolling!
Frequently Asked Questions about Spicy Tuna Onigiri:
Q1: Can I make the spicy tuna filling ahead of time?
Absolutely! The spicy tuna filling can be prepared a day in advance and stored in an airtight container in the refrigerator. This makes assembly even quicker when you’re ready to make your Spicy Tuna Onigiri. Just give it a good stir before filling your rice balls.
Q2: What are some other delicious filling ideas for onigiri?
While the spicy tuna is fantastic, the world of onigiri fillings is vast! Consider seasoned salmon, grilled chicken, pickled plums (umeboshi), teriyaki beef, or even simple salted seaweed. The possibilities are endless, and each offers a unique flavor profile for your Spicy Tuna Onigiri or other onigiri creations.
Spicy Tuna Onigiri Recipe- Quick & Flavorful Japanese Rice Balls
Learn how to make delicious and quick spicy tuna onigiri, a classic Japanese rice ball perfect for a flavorful snack or light meal.
Ingredients
-
3 cups cooked short-grain rice (sushi rice)
-
1/2 teaspoon salt
-
1/2 sheet nori, cut into strips or small pieces
-
1/2 teaspoon black sesame seeds (optional, for garnish)
-
Water, for moistening hands and utensils
-
5.29 oz canned tuna (in oil is preferred for flavor and texture)
-
2 tablespoons mayonnaise (Japanese mayonnaise is excellent for its creamy texture and slight sweetness, but regular mayonnaise works too)
-
1 tablespoon sriracha sauce (or your favorite hot sauce, adjust to your spice preference)
Instructions
-
Step 1
Drain the canned tuna thoroughly. If using tuna packed in oil, gently press it with a fork to remove excess oil. Transfer the drained tuna to a small bowl and flake it into small pieces using a fork. -
Step 2
Add the mayonnaise and sriracha sauce to the flaked tuna. Mix well with a fork until the ingredients are thoroughly combined and the tuna mixture has a uniform color. Taste and adjust seasoning or spice level as needed. Set aside. -
Step 3
Ensure your cooked short-grain rice is warm. In a separate bowl, gently mix the salt into the warm rice until evenly distributed. Keep a small bowl of water nearby for wetting your hands. -
Step 4
Take a portion of seasoned rice (about a generous handful) and place it in your dampened palm. Form it into a loose ball, then create a small indentation in the center with your finger to hold the filling. -
Step 5
Spoon about a tablespoon of the spicy tuna filling into the indentation. Gently bring the edges of the rice around the filling to enclose it completely. Mold the rice into your desired shape (triangle, ball, or disc) using both hands, reapplying water to your hands as needed to prevent sticking. -
Step 6
Wrap the nori strips around the shaped onigiri. You can wrap a strip around the base or cover more of the onigiri. Sprinkle with black sesame seeds for garnish if desired. Repeat for remaining rice and filling.
Important Information
Nutrition Facts (Per Serving)
It is important to consider this information as approximate and not to use it as definitive health advice.
Allergy Information
Please check ingredients for potential allergens and consult a health professional if in doubt.