Easy Homemade Fruit Leather Recipe-Sweet & Healthy Treat
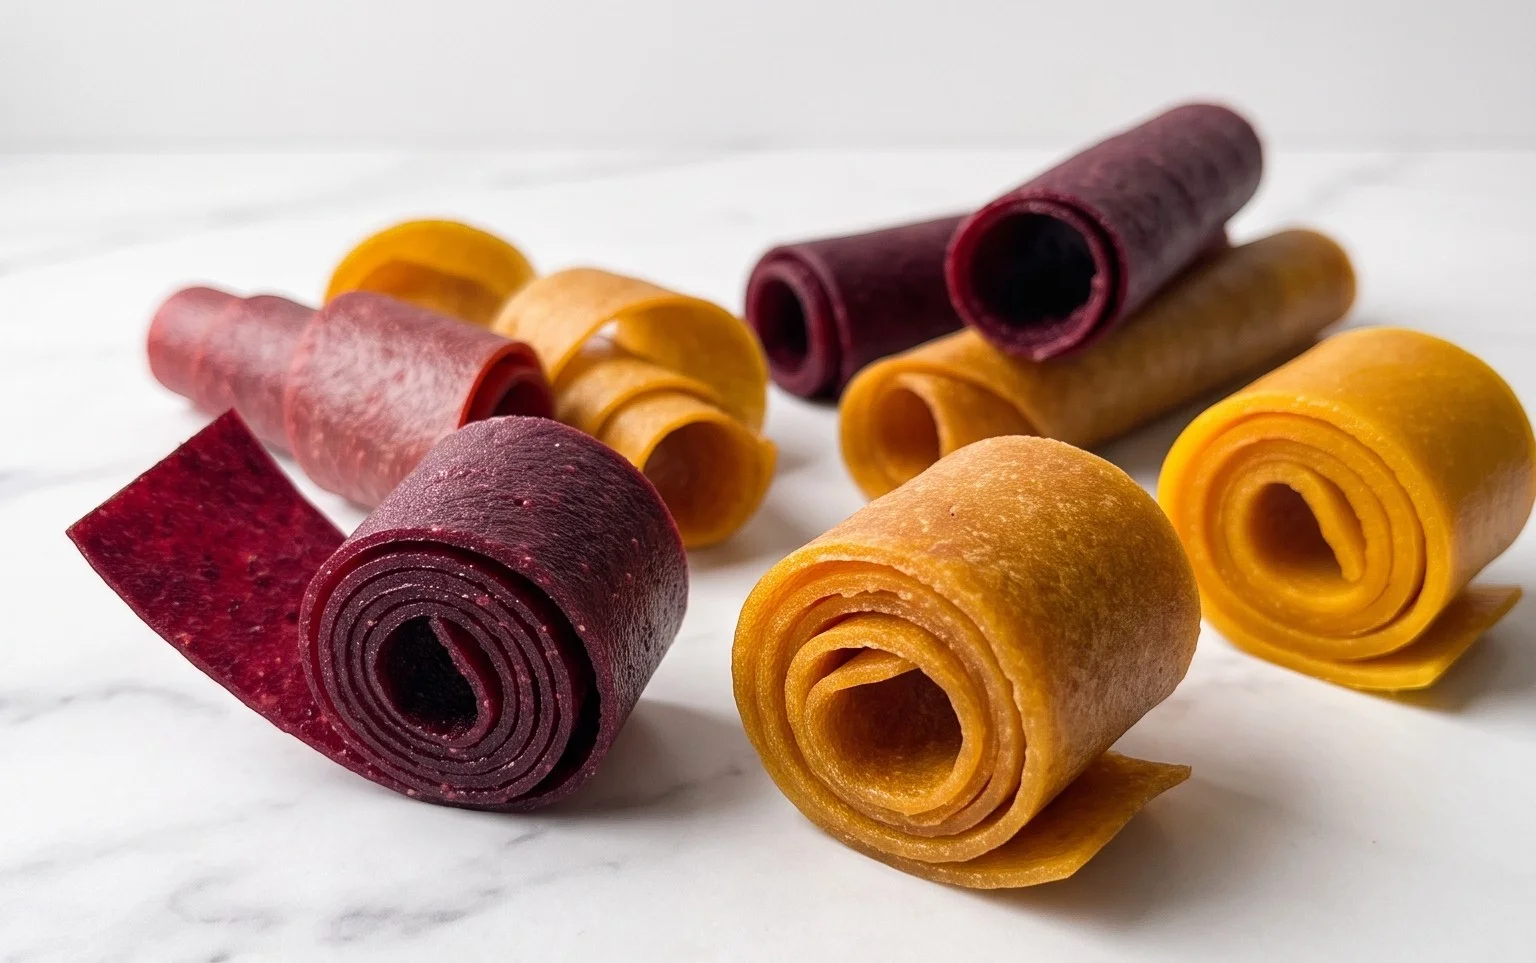
Homemade fruit leather recipes are a fantastic way to capture the vibrant essence of summer fruits and enjoy them year-round. There’s something incredibly satisfying about transforming a basket of ripe berries or juicy peaches into these chewy, intensely flavored strips of pure fruity goodness. People absolutely adore fruit leather because it’s a guilt-free treat – naturally sweet, bursting with vitamins, and wonderfully portable. It’s the perfect healthy snack for lunchboxes, road trips, or just a quick pick-me-up. What makes this homemade fruit leather recipe truly special is its simplicity and the incredible versatility. You can experiment with endless fruit combinations, creating your own unique flavor profiles. Forget those store-bought versions filled with artificial ingredients; crafting your own fruit leather allows you to control exactly what goes in, ensuring a wholesome and delicious result that everyone will love.
Homemade Fruit Leather Recipe
There’s something incredibly satisfying about making your own fruit leather. It’s a fantastic way to preserve the vibrant flavors of fresh fruit, and the end result is a chewy, tangy, and delightfully sweet treat that kids and adults alike will adore. Plus, it’s so much healthier than most store-bought versions, as you control the sugar content and avoid any artificial additives. Making fruit leather is a simple process, requiring minimal ingredients and a bit of patience. The magic happens in the oven, where the fruit slowly dehydrates, concentrating its natural sweetness and transforming it into that wonderfully pliable leathery texture. This recipe is incredibly versatile; you can use almost any fruit you have on hand, from berries and stone fruits to tropical delights. Get ready to embark on a delicious journey of homemade goodness!
Ingredients:
Preparing Your Fruit
The first and most crucial step is to select and prepare your fruit. For this recipe, we’re starting with 2 cups of chopped fruit. The type of fruit you choose will significantly influence the final flavor and color of your fruit leather. Berries like strawberries, raspberries, blueberries, or a mix of them are excellent choices, offering vibrant hues and classic sweet-tart profiles. Stone fruits such as peaches, nectarines, plums, or apricots also work wonderfully, providing a richer, sometimes creamier texture. Even apples or pears can be used, though they might require a bit more sweetness to balance their natural flavors. If you’re using frozen fruit, make sure to thaw it completely and drain off any excess liquid before chopping. When chopping, aim for relatively uniform pieces so that they cook down evenly in the blender or food processor. Remember to remove any pits, stems, or large seeds. For citrus fruits like lemons, we’ll be using just the juice, which adds a fantastic brightness and helps to prevent browning in some fruits.
Blending to Perfection
Once your fruit is prepped and chopped, it’s time to turn it into a smooth puree. You can use a blender or a food processor for this. Add your chopped fruit to the appliance. Now, it’s time to introduce the sweetness and a touch of acidity. Add the 3 tablespoons of white sugar. This sugar will not only sweeten the fruit leather but also help with preservation and contribute to that desirable chewy texture. Next, squeeze in the juice of half a lemon. The lemon juice is a crucial ingredient. It brightens the fruit’s flavor, cutting through any potential cloying sweetness and adding a delightful tang. It also acts as a natural preservative, preventing the fruit from oxidizing and turning brown, especially important if you’re using fruits like apples or peaches. Blend the mixture until it is completely smooth and free of any chunks. You’re aiming for a consistency similar to a thick applesauce or a smoothie. If your fruit is particularly fibrous, you might need to blend for a bit longer.
Spreading the Love
Now that you have your beautifully blended fruit puree, it’s time to spread it out for dehydration. Preheat your oven to its lowest setting. Most ovens have a “warm” setting, usually around 150-170 degrees Fahrenheit (65-75 degrees Celsius). If your oven doesn’t go that low, you can often achieve a similar effect by propping the oven door open slightly with a wooden spoon, allowing for better air circulation and preventing the temperature from getting too high. Line a baking sheet with parchment paper or a silicone baking mat. Ensure the parchment paper completely covers the baking sheet, extending up the sides slightly if possible, to prevent any leaks. Pour your fruit puree onto the prepared baking sheet. Using an offset spatula or the back of a spoon, spread the puree evenly across the parchment paper, aiming for a thickness of about 1/8 to 1/4 inch. Try to make the layer as uniform as possible. This is important because an even thickness will ensure that the fruit leather dehydrates at the same rate throughout, preventing some parts from becoming too dry and brittle while others remain too moist.
The Dehydration Process
This is where the patience comes in! Carefully place the prepared baking sheet into your preheated oven. The dehydration process can take anywhere from 4 to 8 hours, depending on your oven’s temperature, the thickness of your fruit layer, and the moisture content of your fruit. You’ll want to check on it periodically, perhaps every hour or so, to monitor its progress. You’re looking for the fruit leather to be dry to the touch and no longer sticky. It should peel away cleanly from the parchment paper. When you can easily lift an edge and it doesn’t leave residue on your fingers, it’s nearing completion. If you notice any areas that are drying out faster than others, you can gently rotate the baking sheet. The goal is a pliable, leathery texture, not brittle. If it becomes too brittle, it will break easily. If it’s still too soft, it may mold.
Cooling and Storing Your Creations
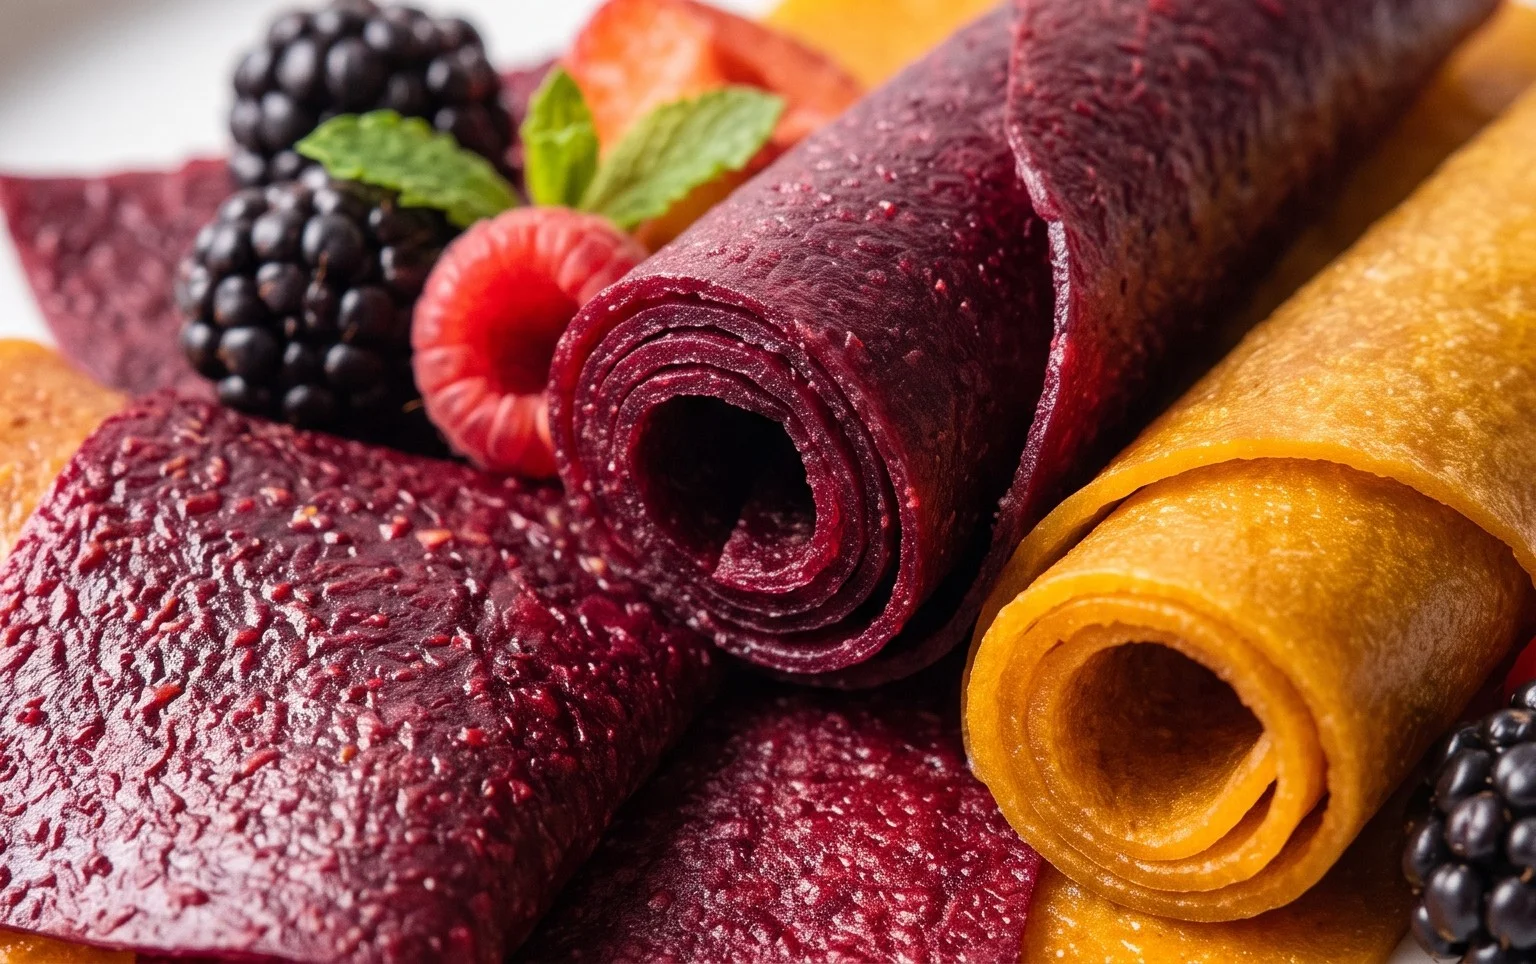
Once your fruit leather has reached the desired consistency, carefully remove the baking sheet from the oven. Let the fruit leather cool completely on the baking sheet. This is a crucial step before cutting or rolling. As it cools, it will firm up slightly, making it easier to handle. Once fully cooled, you can peel the entire sheet of fruit leather off the parchment paper. If you’ve spread it evenly, it should come off in one piece. Now, you can cut it into strips or squares using a pizza cutter or a sharp knife. For a classic fruit leather roll, you can simply roll up the entire sheet or individual strips. Store your homemade fruit leather in an airtight container at room temperature for up to a week. For longer storage, you can wrap individual pieces tightly in plastic wrap or wax paper and then place them in an airtight container in the refrigerator or freezer. Enjoy this delightful homemade treat!
Conclusion:
There you have it! Crafting your very own homemade fruit leather is a wonderfully rewarding experience. It’s not only a fantastic way to preserve the vibrant flavors of seasonal fruits but also a much healthier alternative to store-bought snacks, free from unnecessary additives and excessive sugar. The simplicity of this homemade fruit leather recipe means anyone can achieve delicious results, and the satisfaction of peeling off your own perfectly chewy, intensely fruity creation is truly unparalleled. It’s the perfect guilt-free treat for lunchboxes, road trips, or just a sweet afternoon pick-me-up.
So, get creative and have fun with it! Experiment with different fruit combinations to discover your favorite flavor profiles. Think about adding a pinch of cinnamon for warmth, a touch of gin extractger for a zesty kick, or even some chia seeds for added texture and nutrition. Don’t be afraid to get your hands a little messy – that’s part of the fun! I wholeheartedly encourage you to give this recipe a try; you’ll be amazed at how easy and delicious homemade fruit leather can be.
Frequently Asked Questions:
How long does homemade fruit leather last?
Properly stored, your delicious homemade fruit leather can last for several weeks at room temperature if cut into small pieces and senon-alcoholic aled in an airtight container. For longer storage, up to a few months, keeping it in the refrigerator will help maintain its texture and flavor. Ensure it’s completely cooled and dry before sealing to prevent any moisture buildup.
Can I make fruit leather without a dehydrator?
Absolutely! While a dehydrator is ideal, you can successfully make fruit leather using your oven. Simply set your oven to its lowest temperature (usually around 140-170°F or 60-75°C), prop the oven door open slightly with a wooden spoon to allow moisture to escape, and bake until the fruit leather is no longer sticky to the touch. This method may take a bit longer than a dehydrator, but the results are just as fantastic.
What are some other fruit combinations I can try?
The possibilities are truly endless! Beyond the basics, consider blending strawberries with rhubarb for a tart and sweet combination, mango with passionfruit for an exotic twist, or blueberries with raspberries for a vibrant, antioxidant-rich treat. You could also incorporate a small amount of a stronger flavor like a splash of lemon juice to brighten up sweeter fruits, or even a hint of vanilla extract.
Homemade Fruit Leather
A simple and delicious recipe for homemade fruit leather using fresh fruit and basic pantry staples.
Ingredients
-
2 cups fruit, chopped
-
3 tbsp white sugar
-
½ whole lemon, just the juice
-
1 tsp vanilla extract
-
¼ tsp cinnamon
-
Pinch of salt
Instructions
-
Step 1
Prepare your fruit by washing, peeling (if necessary), and chopping it into small pieces. -
Step 2
Combine the chopped fruit, white sugar, lemon juice, vanilla extract, cinnamon, and salt in a saucepan. -
Step 3
Cook over medium heat, stirring occasionally, until the fruit breaks down and the mixture thickens, about 10-15 minutes. -
Step 4
Puree the cooked fruit mixture using an immersion blender or transfer to a regular blender until smooth. -
Step 5
Pour the fruit puree onto a parchment-lined baking sheet, spreading it thinly and evenly. -
Step 6
Bake at the lowest oven temperature (around 170°F or 75°C) for 3-6 hours, or until the fruit leather is no longer sticky and is pliable. The exact time will depend on your oven and the thickness of the leather. -
Step 7
Once cooled, cut the fruit leather into strips or desired shapes.
Important Information
Nutrition Facts (Per Serving)
It is important to consider this information as approximate and not to use it as definitive health advice.
Allergy Information
Please check ingredients for potential allergens and consult a health professional if in doubt.