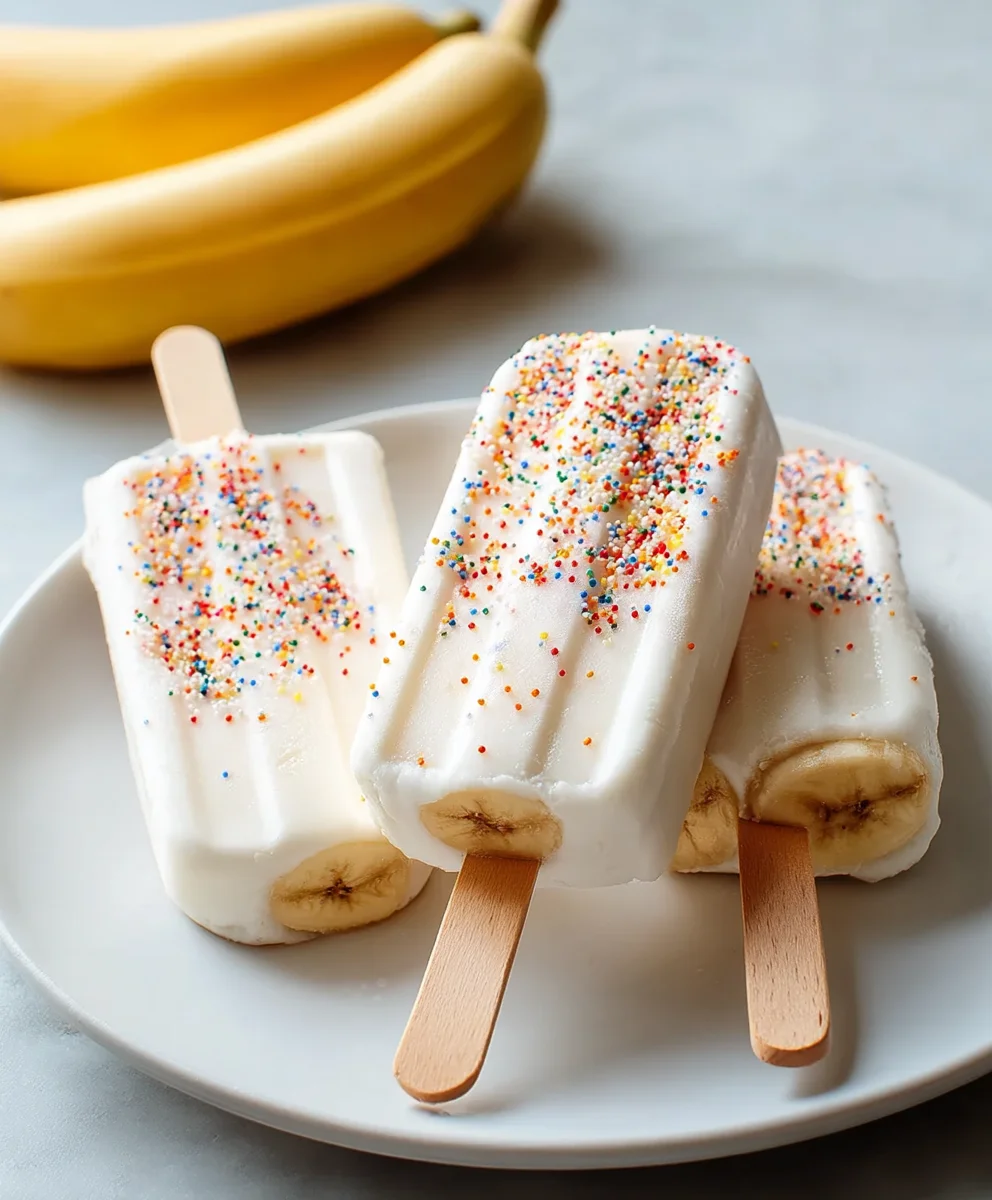
Easy Frozen Banana Yogurt Pops – Healthy Treat
Frozen Banana Yogurt Pops are an absolute game-changer when it comes to healthy, delicious, and incredibly easy treats. We all know the feeling: that afternoon slump hits, and you crave something sweet, but you want to avoid the sugar crash. That’s where these magical frozen delights come in. People adore them because they’re not just a snack; they’re a burst of pure joy that tastes like a decadent dessert without any of the guilt. Imagin extracte the creamy sweetness of ripe bananas blended with tangy yogurt, frozen into perfectly portioned pops that are refreshing on a hot day and satisfying any time of year. What truly makes these Frozen Banana Yogurt Pops so special is their incredible versatility. They’re naturally sweet, packed with nutrients, and require minimal effort, making them a go-to for busy parents, fitness enthusiasts, or anyone simply looking for a guilt-free indulgence. Get ready to discover your new favorite way to cool down and treat yourself!

Ingredients:
- 3 ripe bananas, peeled and cut in half horizontally
- 3/4 cup vanilla yogurt (or your favorite flavor like strawberry or Greek yogurt)
- Colorful sprinkles, chocolate chips, shredded coconut, or any other fun toppings you desire
- 6 popsicle sticks
Preparing Your Frozen Banana Yogurt Pops
This recipe for Frozen Banana Yogurt Pops is incredibly simple and perfect for a healthy and delicious treat that kids and adults alike will adore. We’re starting with the stars of the show: bananas. Ensure your bananas are ripe; this means they should have a good amount of brown speckles on their peels. Riper bananas are sweeter and have a creamier texture when frozen, making for a more enjoyable pop. Once peeled, we’ll cut them in half horizontally. This provides a good surface area for dipping and a substantial base for our popsicles.
Next, we have our creamy binder: vanilla yogurt. While vanilla is a classic choice that lets the banana flavor shine, feel free to experiment with other flavors. A plain Greek yogurt would offer a tangier profile and an extra protein boost, while a strawberry or blueberry yogurt would add another layer of fruitiness and color. You’ll need 3/4 cup of yogurt, which is enough to coat our banana halves generously.
And for the fun part – the toppings! This is where you can let your creativity run wild. Colorful sprinkles are a fantastic way to make these pops visually appealing, especially for children. You could also opt for mini chocolate chips for a touch of indulgence, shredded coconut for a tropical vibe, or even a drizzle of melted chocolate before adding other toppings. Have a variety of toppings on hand to make each pop unique.
Finally, you’ll need 6 popsicle sticks. These will be inserted into the banana halves to give you something to hold onto as you enjoy your frozen creation.
Assembling the Pops
Step 1: Prepare the Bananas for Freezing
Begin extract by taking your banana halves and inserting a popsicle stick into the cut end of each half. Gently push the stick about halfway into the banana flesh. You want it to be secure enough to hold the banana without it falling off, but not so deep that it pokes through the other side. Ensure the sticks are inserted straight to avoid leaning. If your bananas are very soft, you might find it helpful to freeze them for about 15-20 minutes before inserting the sticks. This will firm them up slightly, making the insertion process easier and preventing the stick from sliding out. Place the banana halves, stick-side up, on a baking sheet lined with parchment paper. Parchment paper is crucial here as it will prevent the bananas from sticking to the baking sheet, making them easy to remove later.
Step 2: Get Ready for Dipping
Now it’s time to prepare our yogurt coating. Pour the 3/4 cup of vanilla yogurt into a shallow bowl or a wide-mouthed glass. A shallow bowl is often easiest for dipping, as it allows you to maneuver the banana halves effectively. If you’re using a thicker yogurt, like Greek yogurt, you might want to stir it briefly to loosen it up slightly, making it easier to coat the bananas smoothly. Have your chosen toppings ready and spread out on a small plate or in individual bowls. This ensures that once your banana is coated, you can quickly and efficiently add your toppings before the yogurt starts to set.
Step 3: The Yogurt Dip
Carefully pick up one of the banana halves (with the popsicle stick firmly in place). Dip the banana into the yogurt, tilting the bowl and rotating the banana to ensure an even coating. You want to cover as much of the banana surface as possible without the yogurt dripping off too much. You can use a spoon to help spread the yogurt if needed, especially around the sides and into any crevices. Don’t worry if it’s not perfectly smooth; a slightly rustic look can be charming! Once coated, gently let any excess yogurt drip back into the bowl for a few seconds. This prevents a thick, gloppy layer of yogurt from forming, which can make the pops harder to handle.
Step 4: Add Your Creative Toppings
Immediately after dipping the banana in yogurt, while the yogurt is still wet and sticky, roll or sprinkle your chosen toppings onto the banana. If you’re using sprinkles, gently roll the coated banana in a plate of sprinkles until it’s covered to your liking. For larger toppings like chocolate chips or shredded coconut, you can press them gently into the yogurt to help them adhere. This is the most fun and visually creative part! Experiment with different combinations of toppings on each pop to make a colorful and exciting assortment. Remember to work relatively quickly, as the cold banana will start to chill the yogurt, making it harder for the toppings to stick.
Step 5: Freeze to Perfection
Once all your banana halves are dipped and beautifully adorned with toppings, carefully place them back onto the parchment-lined baking sheet. Make sure the pops are not touching each other, as they might freeze together. If your freezer space is limited, you can freeze them upright in a tall glass or container, ensuring they don’t lean too much. Place the baking sheet into the freezer. Allow the Frozen Banana Yogurt Pops to freeze completely. This typically takes at least 2-3 hours, but for the firmest result, overnight is ideal. Once fully frozen, they can be transferred to a freezer-safe bag or container for easy storage and future enjoyment. Enjoy your delicious and healthy homemade Frozen Banana Yogurt Pops!
Conclusion:
We hope you absolutely love making and enjoying these delightful Frozen Banana Yogurt Pops! This recipe is a fantastic way to transform simple ingredients into a healthy and refreshing treat that’s perfect for any occasion. Whether you’re looking for a guilt-free dessert, a quick breakfast on the go, or a fun activity to do with kids, these pops deliver. They are incredibly versatile and satisfying, bringin extractg a burst of fruity goodness to your day. Don’t be afraid to experiment with different yogurt flavors or mix-ins to create your own signature combinations. We encourage you to get creative and have fun with it!
Serve these Frozen Banana Yogurt Pops chilled straight from the freezer. They pair wonderfully with fresh berries, a drizzle of honey, or even a sprinkle of granola for added texture. Consider them a welcome addition to picnics, beach days, or a sweet ending to any meal.
Frequently Asked Questions:
Q1: How can I ensure my Frozen Banana Yogurt Pops don’t stick to the mold?
To prevent sticking, lightly grease your popsicle molds with a neutral oil like coconut or vegetable oil before filling them. You can also try briefly dipping the bottom of the mold in warm water for a few seconds before attempting to pull the pop out. Ensure the pops are fully frozen for at least 4-6 hours before unmolding.
Q2: Can I use dairy-free yogurt for these Frozen Banana Yogurt Pops?
Absolutely! These pops are perfectly adaptable for those who are dairy-free or vegan. Simply substitute your preferred dairy-free yogurt, such as coconut yogurt, almond yogurt, or soy yogurt, for the regular yogurt. The texture and flavor will be slightly different depending on the yogurt used, but they will still be delicious!
Q3: What are some other fun additions I can include in my Frozen Banana Yogurt Pops?
The possibilities are endless! You can stir in chopped fresh fruits like strawberries, blueberries, or mango. A swirl of fruit puree, a few chocolate chips, or even a sprinkle of shredded coconut can add exciting new dimensions. For a bit of crunch, consider adding finely chopped nuts or seeds once the pops are partially frozen.
Easy Frozen Banana Yogurt Pops – Healthy Treat
A simple and healthy frozen treat made with ripe bananas, yogurt, and your favorite toppings. Perfect for kids and adults!
Ingredients
-
3 ripe bananas, peeled and cut in half horizontally
-
3/4 cup vanilla yogurt
-
Colorful sprinkles
-
Chocolate chips
-
Shredded coconut
-
6 popsicle sticks
Instructions
-
Step 1
Insert a popsicle stick about halfway into the cut end of each banana half. Place the banana halves, stick-side up, on a baking sheet lined with parchment paper. -
Step 2
Pour the yogurt into a shallow bowl. Have your chosen toppings ready and spread out on a plate or in bowls. -
Step 3
Carefully dip each banana half into the yogurt, rotating to ensure an even coating. Let excess yogurt drip back into the bowl. -
Step 4
Immediately roll or sprinkle your chosen toppings onto the yogurt-coated banana while the yogurt is still wet. Press larger toppings gently to adhere. -
Step 5
Place the decorated banana pops back onto the parchment-lined baking sheet, ensuring they are not touching. Freeze for at least 2-3 hours, or until completely frozen.
Important Information
Nutrition Facts (Per Serving)
It is important to consider this information as approximate and not to use it as definitive health advice.
Allergy Information
Please check ingredients for potential allergens and consult a health professional if in doubt.