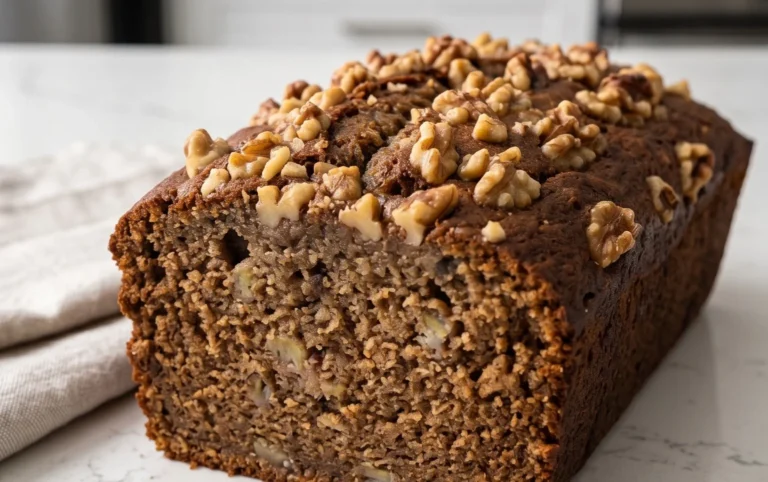
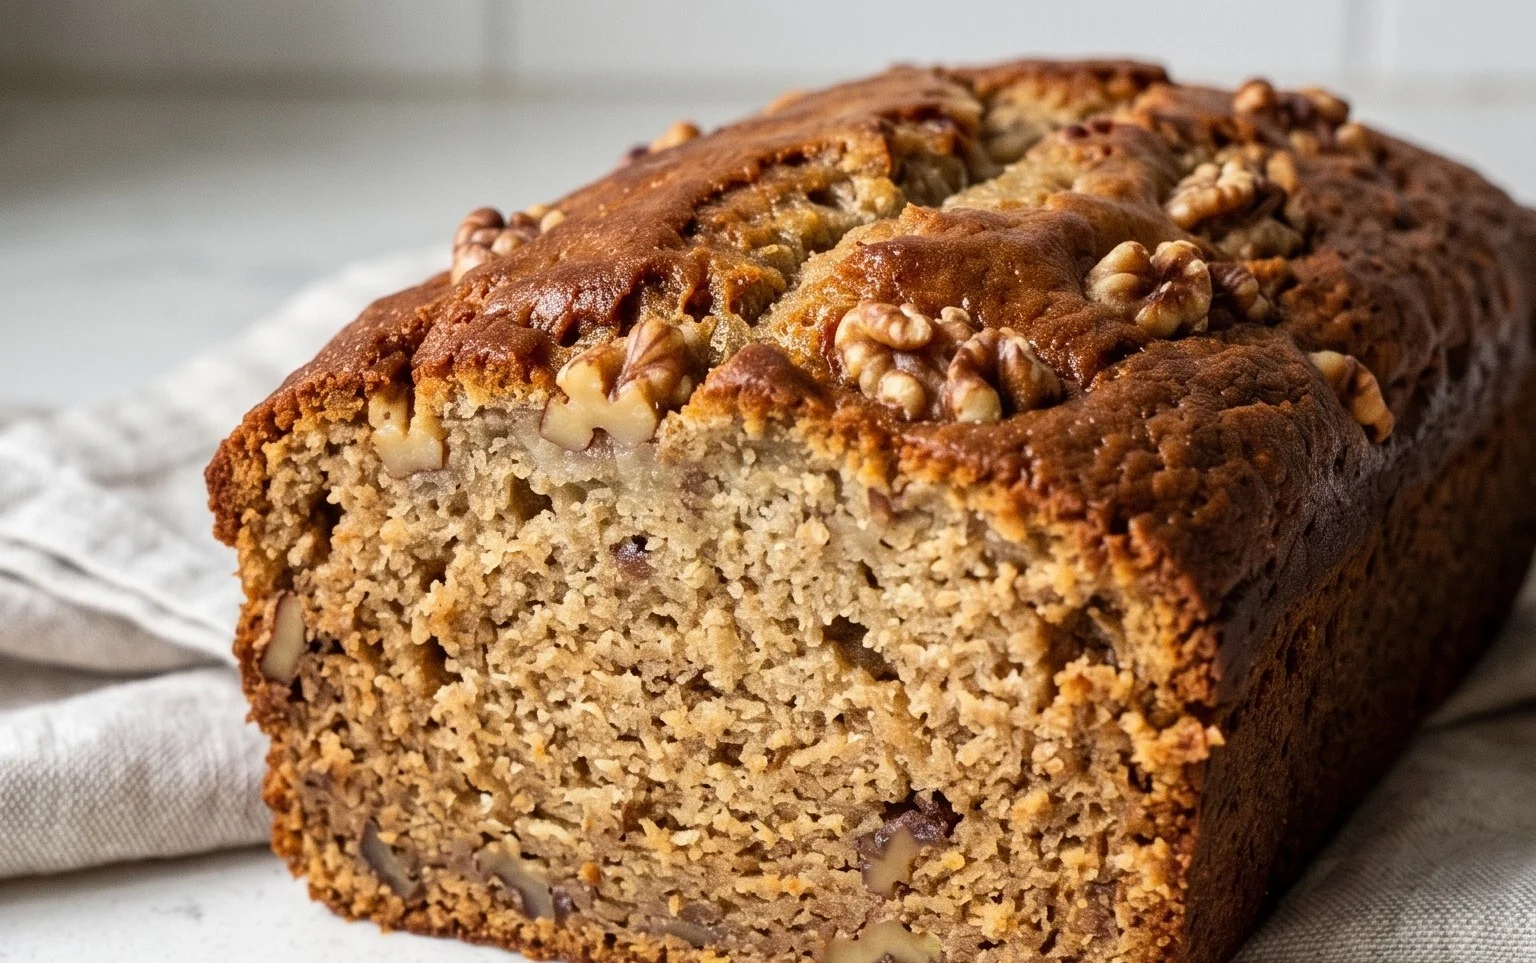
Easy Banana Bread Recipe-Moist & Delicious
Banana bread recipe perfection is within your reach! There’s something undeniably comforting and incredibly satisfying about a slice of warm, moist banana bread. It’s the ultimate comfort food, a delightful treat that brings back childhood memories and fills our homes with an irresistible aroma. Why do we all love this humble loaf so much? Perhaps it’s the way ripe bananas transform into a sweet, fragrant masterpiece, or the simplicity of its creation that makes it accessible to bakers of all levels. What truly makes our go-to banana bread recipe special is its perfect balance: not too sweet, wonderfully moist, and infused with that distinct banana flavor that’s simply out of this world. Get ready to bake the best banana bread you’ve ever had!
The Ultimate Comfort: My Go-To Banana Bread Recipe
There’s something undeniably comforting about a warm slice of banana bread, isn’t there? It’s that perfect blend of sweet, moist, and slightly spiced goodness that makes it a staple in my kitchen. Whether you have overripe bananas lurking on your counter or are simply craving a delightful treat, this recipe is my tried-and-true favorite. It’s incredibly easy to make, consistently delicious, and always fills the house with an aroma that’s pure bliss. Let’s dive in and create some magic!
Ingredients:
Getting Started: Preparation is Key
Before we even think about mixing, let’s get our ingredients ready. This is crucial for a smooth baking process and ensures everything incorporates beautifully. First, make sure your bananas are truly ripe – the spottier, the better! This is where the sweetness and moisture come from, so don’t shy away from those dark spots. Mash them thoroughly with a fork in a bowl until you have a relatively smooth consistency. A few small lumps are perfectly fine and add character.
Next, let’s talk about the dry ingredients. In a medium-sized bowl, whisk together your all-purpose flour, baking soda, salt, and cinnamon. Whisking them together at this stage helps to evenly distribute the leavening agent (baking soda) and salt, preventing any concentrated pockets and ensuring your bread rises evenly. The cinnamon adds a lovely warmth that pairs so well with the banana.
Now for the wet ingredients. If you’re using butter, make sure it’s softened to room temperature. This means it should be yielding to the touch but not melted. If you’re in a pinch, you can cut butter into smaller cubes to help it soften faster, or even use a microwave on a very low setting for short bursts (just be careful not to melt it completely!). If you’re opting for vegetable oil, measure it out and set it aside. Also, ensure your eggs are at room temperature. This helps them emulsify better with the butter and sugar, resulting in a more tender crum extractb. To bring eggs to room temperature quickly, place them in a bowl of warm (not hot) water for about 5-10 minutes.
The Mixing Process: Combining Sweetness and Spice
In a large mixing bowl, cream together your softened butter (or vegetable oil) and both the brown sugar and granulated sugar. If using butter, beat it with an electric mixer or a sturdy whisk until it’s light and fluffy. This process incorporates air, which contributes to a lighter texture in the finished bread. If using oil, you’ll simply whisk it with the sugars until well combined. Gradually add the room temperature eggs, one at a time, beating well after each addition. Don’t rush this step; it’s important for creating a stable emulsion. Stir in the vanilla extract. The aroma at this stage is already divine!
Now, it’s time to introduce the mashed bananas to our wet ingredients. Add the mashed bananas to the butter-sugar-egg mixture and stir until just combined. Don’t overmix at this point; we want to keep the batter tender.
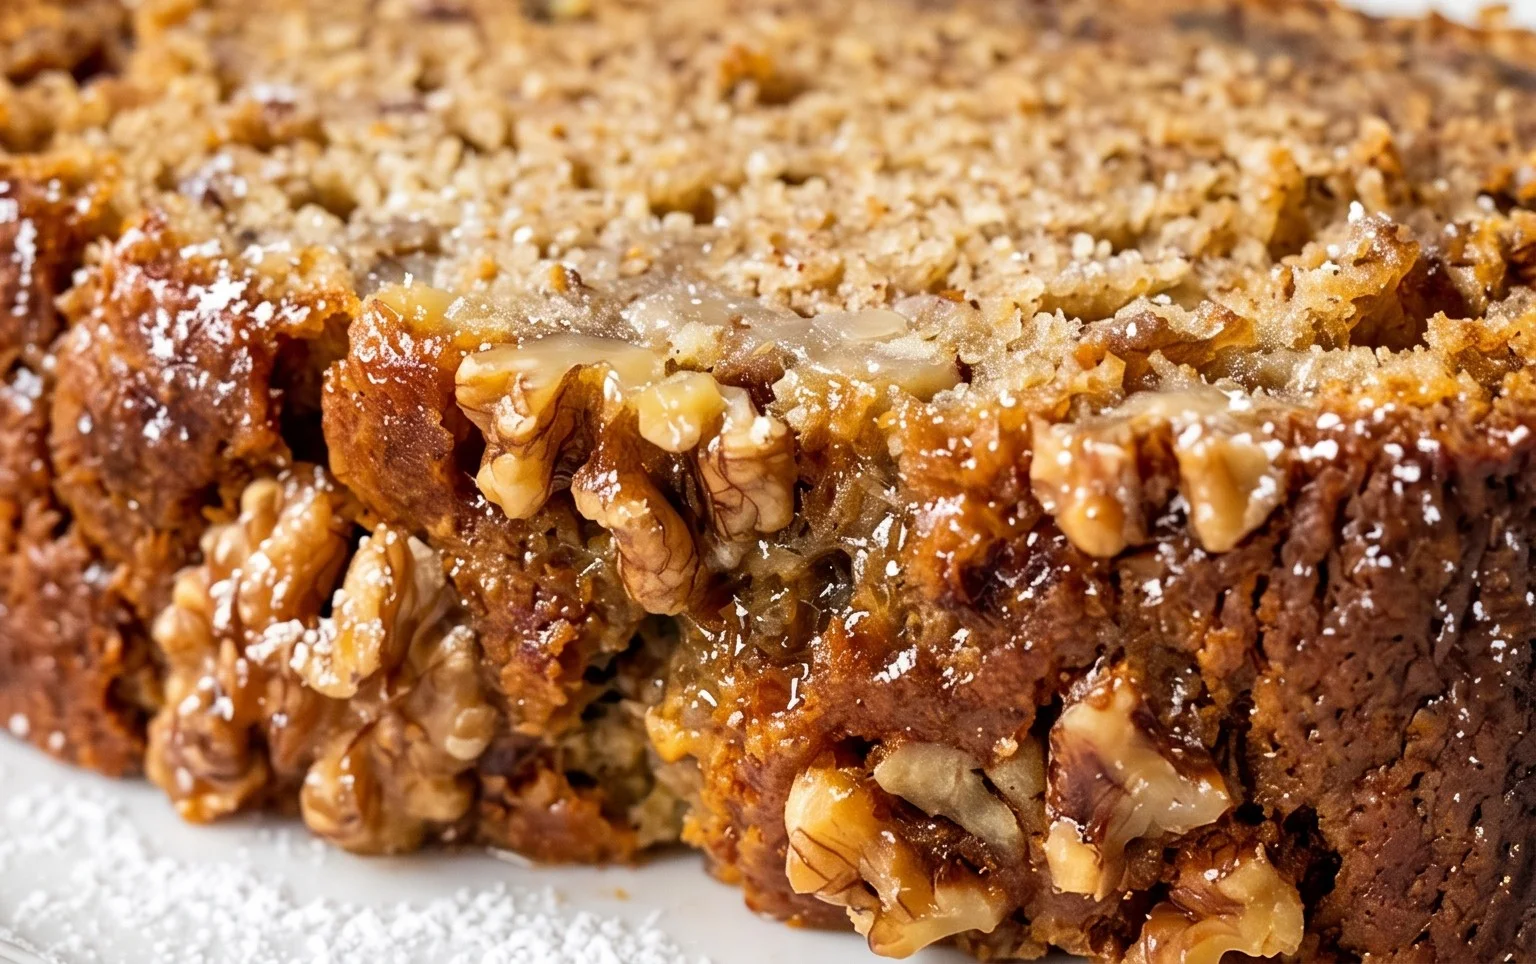
Finally, it’s time to bring the dry ingredients into the fold. Gradually add the flour mixture to the wet ingredients, mixing on low speed or by hand until just combined. It’s really important not to overmix the batter once the flour is added. Overmixing develops the gluten in the flour too much, which can result in a tough, dense banana bread. A few streaks of flour are perfectly acceptable; they will disappear during baking. Gently fold in any add-ins you might desire at this stage, like chopped walnuts, pecans, or chocolate chips.
Baking Your Masterpiece: The Aroma of Success
Preheat your oven to 350°F (175°C). Grease and flour a 9×5 inch loaf pan, or line it with parchment paper. This step is crucial to prevent your beautiful banana bread from sticking to the pan.
Pour the batter into the prepared loaf pan and spread it evenly. You can gently tap the pan on the counter a couple of times to help settle the batter and remove any large air pockets.
Bake for 50-65 minutes, or until a wooden skewer or toothpick inserted into the center of the loaf comes out clean. The baking time can vary depending on your oven, so it’s always best to start checking around the 50-minute mark. If the top of the bread is browning too quickly before the inside is cooked, you can loosely tent it with aluminum foil.
Once baked, let the banana bread cool in the pan on a wire rack for about 10-15 minutes before carefully removing it from the pan and placing it directly on the wire rack to cool completely. This initial cooling in the pan helps the bread set, making it easier to remove without breaking. Resist the urge to slice into it immediately! Allowing it to cool completely ensures it has the best texture and flavor.
Enjoying Your Homemade Banana Bread
This banana bread is absolutely wonderful served warm or at room temperature. It’s perfect on its own, or you can add a dollop of butter, a drizzle of honey, or even a smear of cream cheese. It’s also fantastic toasted the next day. Store any leftovers in an airtight container at room temperature for up to 3 days, or in the refrigerator for longer storage. You can also freeze slices or the whole loaf for future enjoyment. Simply wrap it tightly in plastic wrap and then in aluminum foil.
Happy baking! I hope you enjoy this recipe as much as I do. It’s a simple pleasure that brings so much joy.
Conclusion:
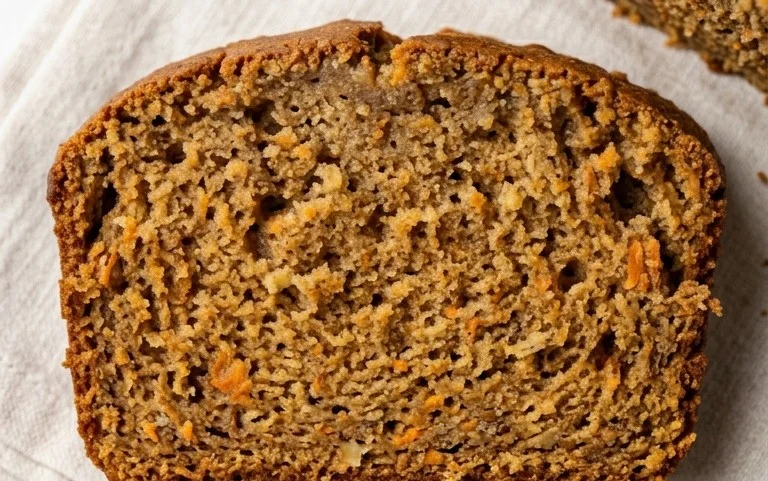
There you have it – a simple yet incredibly rewarding banana bread recipe that’s perfect for any occasion! This recipe truly shines because of its moist, tender crum extractb and the deep, comforting flavor that comes from perfectly ripe bananas. It’s a wonderful way to use up those overripe bananas cluttering your counter and results in a treat that’s both satisfying and delightfully easy to make. Whether you’re a seasoned baker or just starting out, you’ll find this banana bread recipe a breeze to follow.
Once your loaf is baked to golden perfection, the possibilities are endless! It’s fantastic enjoyed simply as is, warm from the oven with a slather of butter. For a more decadent experience, try it toasted and topped with a drizzle of honey, a dollop of cream cheese, or even a scoop of your favorite ice cream. Don’t be afraid to experiment with variations! Add a handful of chocolate chips for a classic twist, swirl in some peanut butter for a nutty delight, or sprinkle in some chopped walnuts or pecans for added texture. I highly encourage you to give this banana bread recipe a try – I promise you won’t be disappointed! It’s a true crowd-pleaser and a staple in my kitchen.
Frequently Asked Questions:
Can I use frozen bananas?
Absolutely! Frozen bananas are actually ideal for banana bread. Thaw them completely before using, and be sure to drain off any excess liquid. The texture and flavor will be just as wonderful, if not better!
My banana bread is a little dry. What went wrong?
A few things can contribute to dry banana bread. Ensure you’re not overmixing the batter once the dry ingredients are added, as this can develop gluten and make it tough. Also, be careful not to overbake it! Keep an eye on it towards the end of the baking time and insert a toothpick into the center; it should come out with moist crum extractbs, not completely clean.
Banana Bread Recipe
A classic and moist banana bread recipe perfect for using up ripe bananas.
Ingredients
-
1⅓ cups mashed bananas (about 4 small bananas)
-
2 cups all-purpose flour
-
1 teaspoon baking soda
-
½ teaspoon salt
-
½ teaspoon cinnamon
-
½ cup unsalted butter, softened
-
½ cup brown sugar
-
¼ cup granulated sugar
-
2 large eggs, room temperature
-
1 teaspoon vanilla extract
Instructions
-
Step 1
Preheat oven to 350°F (175°C). Grease and flour a 9×5 inch loaf pan. -
Step 2
In a large bowl, mash the ripe bananas thoroughly. -
Step 3
Add the melted butter (or oil), brown sugar, granulated sugar, eggs, and vanilla extract to the mashed bananas. Mix until well combined. -
Step 4
In a separate bowl, whisk together the flour, baking soda, salt, and cinnamon. -
Step 5
Gradually add the dry ingredients to the wet ingredients, mixing until just combined. Do not overmix. -
Step 6
Pour the batter into the prepared loaf pan and bake for 55-65 minutes, or until a toothpick inserted into the center comes out clean. -
Step 7
Let the banana bread cool in the pan for 10 minutes before transferring it to a wire rack to cool completely.
Important Information
Nutrition Facts (Per Serving)
It is important to consider this information as approximate and not to use it as definitive health advice.
Allergy Information
Please check ingredients for potential allergens and consult a health professional if in doubt.