Budget Wedding Food Ideas-Reception Menu Inspiration
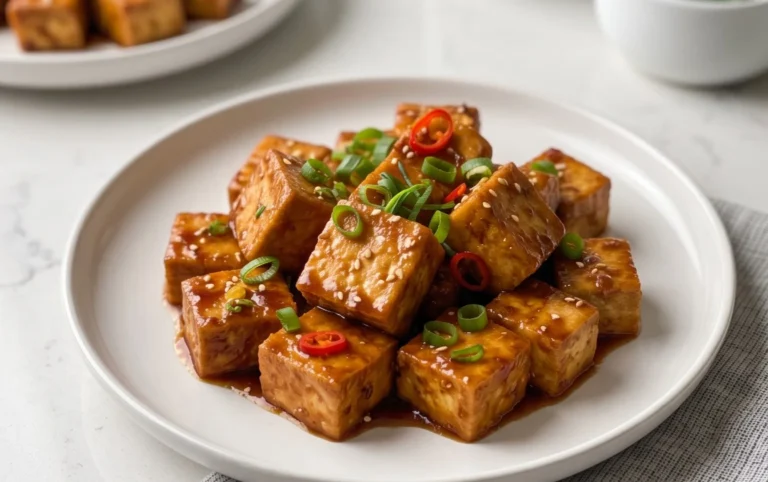
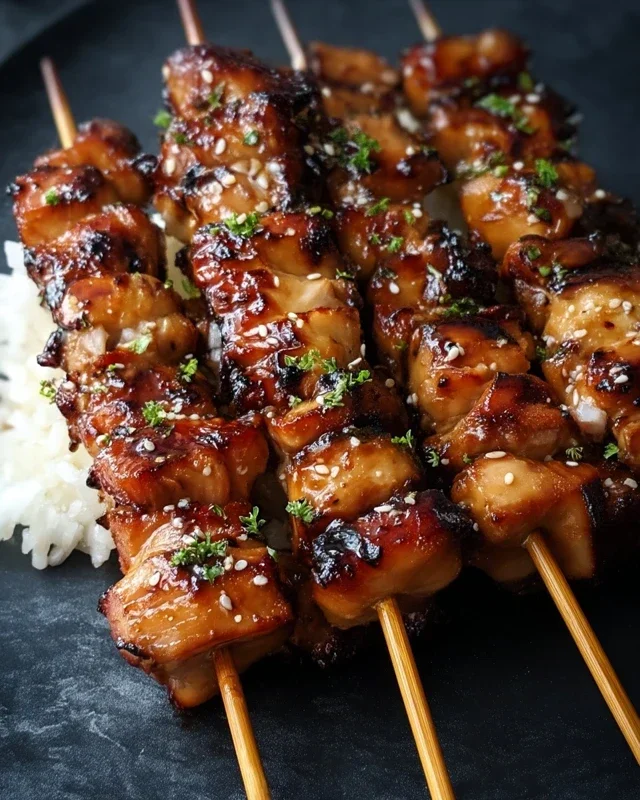
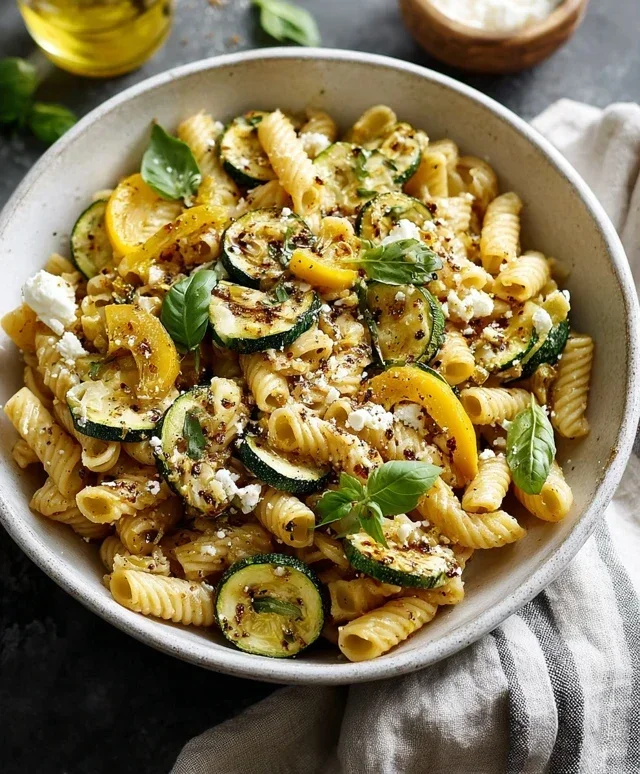
13 Wedding Reception Food Ideas On A Budget are more achievable and delightful than you might think! Planning a wedding is an incredibly exciting time, but the costs can add up quickly, especially when it comes to feeding your beloved guests. That’s why finding delicious, memorable, and affordable options is key to making your special day perfect without breaking the bank. People adore wedding receptions for the joyous celebration, the chance to mingle with loved ones, and of course, the food that fuels the festivities! What makes these specific 13 wedding reception food ideas on a budget truly special is their ability to deliver maximum flavor and visual appeal while minimizing expenditure. We’re talking about smart, creative choices that will have your guests raving about the delicious spread, not the price tag.
Discover how to impress your guests with these brilliant culinary strategies.
Let’s dive into some incredibly tasty and wallet-friendly choices that will make your wedding reception unforgettable.

Ingredients:
- 2 cups all-purpose flour
- 1 teaspoon baking soda
- 1/2 teaspoon salt
- 1 cup (2 sticks) unsalted butter, softened
- 3/4 cup granulated sugar
- 3/4 cup packed light brown sugar
- 2 large eggs
- 1 teaspoon vanilla extract
- 2 cups (12 ounces) semi-sweet chocolate chips
- 1 cup chopped walnuts or pecans (optional)
The Perfect Chocolate Chip Cookie Base
Mixing the Dry Ingredients
Start by preparing your dry ingredients. In a medium bowl, whisk together the 2 cups of all-purpose flour, 1 teaspoon of baking soda, and 1/2 teaspoon of salt. Whisking these together ensures that the leavening agent (baking soda) and salt are evenly distributed throughout the flour, which is crucial for consistent cookie texture and rise. Set this bowl aside for now.
Creaming the Butter and Sugars
Now, in a large mixing bowl, or the bowl of your stand mixer fitted with the paddle attachment, cream together 1 cup of softened unsalted butter with 3/4 cup of granulated sugar and 3/4 cup of packed light brown sugar. You want to beat these together until the mixture is light and fluffy, which usually takes about 2-3 minutes on medium speed. This creaming process incorporates air into the dough, contributing to a tender cookie. Ensure your butter is truly softened – not melted – as this is key to achieving the right texture.
Adding Eggs and Vanilla
Once the butter and sugar mixture is light and fluffy, it’s time to add the wet ingredients. Crack in 2 large eggs, one at a time, beating well after each addition until fully incorporated. Scrape down the sides of the bowl as needed to ensure everything is mixing evenly. Next, stir in 1 teaspoon of vanilla extract. The vanilla not only adds a wonderful aroma but also enhances the overall flavor of the cookies. Beat until just combined.
Incorporating the Dry and Wet Ingredients
Now, gradually add the dry ingredient mixture to the wet ingredient mixture. It’s best to add it in about three additions, mixing on low speed until just combined after each addition. Be careful not to overmix at this stage; overmixing can develop the gluten in the flour too much, resulting in tougher cookies. Stop mixing as soon as you no longer see streaks of flour.
Adding the Mix-Ins
Folding in the Chocolate Chips and Nuts
This is where the magic happens! Gently fold in 2 cups of semi-sweet chocolate chips. If you’re using nuts, now is also the time to add them – 1 cup of chopped walnuts or pecans, if desired. Use a spatula or a wooden spoon for this step, folding until the chocolate chips and nuts are evenly distributed throughout the dough. Again, avoid overmixing; you want to see distinct pieces of chocolate and nuts, not a uniformly brown dough.
Baking to Perfection
Chilling the Dough (Optional but Recommended)
For cookies that spread less and have a chewier texture, I highly recommend chilling the dough. Cover the bowl with plastic wrap and refrigerate for at least 30 minutes, or up to 2-3 days. Chilling the dough allows the flour to hydrate fully and the fat to solidify, which results in a richer flavor and a more controlled spread during baking. If you’re short on time, you can skip this step, but the results will be slightly different.
Preheating the Oven and Preparing Baking Sheets
Preheat your oven to 375 degrees Fahrenheit (190 degrees Celsius). Line baking sheets with parchment paper or silicone baking mats. This prevents the cookies from sticking and makes for easy cleanup. Using parchment paper also helps ensure even browning on the bottoms of the cookies.
Scooping and Baking the Cookies
Drop rounded tablespoons of cookie dough onto the prepared baking sheets, leaving about 2 inches of space between each cookie to allow for spreading. I like to use a cookie scoop for uniform size, which helps them bake evenly. Bake for 9 to 11 minutes, or until the edges are golden brown and the centers are still slightly soft. The exact baking time will depend on your oven and the size of your cookies. Don’t overbake them if you want them to remain chewy in the center.
Cooling the Cookies
Once baked, let the cookies cool on the baking sheets for 2-3 minutes. This allows them to set up a bit before you try to move them. Then, carefully transfer the cookies to a wire rack to cool completely. Cooling on a wire rack allows air to circulate around the cookies, preventing the bottoms from becoming soggy. Enjoy them warm, or store them in an airtight container once completely cooled.

Conclusion:
So there you have it – a delightful collection of 13 Wedding Reception Food Ideas On A Budget that prove you don’t need to break the bank to serve delicious and memorable food at your reception. We’ve explored creative ways to offer fantastic flavors and impressive presentations without exceeding your budget. From charming DIY stations to elegant yet affordable plated options, these ideas are designed to delight your guests and keep your wedding finances in check.
When serving these dishes, consider the overall theme and atmosphere of your wedding. For a more casual affair, a build-your-own taco bar or a gourmet mac and cheese station can be incredibly interactive and fun. For a slightly more formal setting, consider beautifully arranged charcuterie boards or elegant canapé platters. Don’t be afraid to get creative with presentation!
Remember, these 13 Wedding Reception Food Ideas On A Budget are just a starting point. Feel free to adapt them to your personal tastes and preferences. Swap out ingredients, experiment with different flavor combinations, and make them uniquely yours. The most important thing is to create a meal that reflects your love and celebrates your special day. We encourage you to embrace the DIY spirit and have fun with the planning process!
Frequently Asked Questions about 13 Wedding Reception Food Ideas On A Budget:
Q1: Can these budget-friendly ideas still feel sophisticated enough for a wedding?
Absolutely! The key to making budget-friendly food feel sophisticated lies in presentation and quality ingredients (even if they are affordable). Using stylish serving platters, garnishes like fresh herbs, and ensuring dishes are prepared with care can elevate the perceived value. For example, a well-presented bruschetta bar with a variety of toppings can look just as elegant as a more expensive appetizer.
Q2: What are some ways to handle dietary restrictions with these budget options?
Many of these ideas lend themselves well to dietary accommodations. For instance, a salad bar or a build-your-own bowl station can easily incorporate vegetarian, vegan, and gluten-free options with separate toppings. When planning your menu, clearly label each dish to indicate allergens or dietary suitability. Communicating with your caterer or venue about specific needs will also be crucial.
Budget Wedding Food Ideas-Reception Menu Inspiration
Delicious and budget-friendly chocolate chip cookies, perfect for a wedding reception.
Ingredients
-
2 cups all-purpose flour
-
1 teaspoon baking soda
-
1/2 teaspoon salt
-
1 cup unsalted butter, softened
-
3/4 cup granulated sugar
-
3/4 cup packed light brown sugar
-
2 large eggs
-
1 teaspoon vanilla extract
-
2 cups semi-sweet chocolate chips
-
1 cup chopped walnuts or pecans (optional)
Instructions
-
Step 1
In a medium bowl, whisk together the flour, baking soda, and salt. Set aside. -
Step 2
In a large mixing bowl, cream together the softened butter, granulated sugar, and brown sugar until light and fluffy. -
Step 3
Beat in the eggs one at a time, then stir in the vanilla extract. -
Step 4
Gradually add the dry ingredients to the wet ingredients, mixing on low speed until just combined. Do not overmix. -
Step 5
Gently fold in the chocolate chips and nuts (if using). -
Step 6
Chill the dough for at least 30 minutes (optional but recommended). -
Step 7
Preheat oven to 375°F (190°C). Line baking sheets with parchment paper. -
Step 8
Drop rounded tablespoons of dough onto prepared baking sheets and bake for 9-11 minutes, or until edges are golden brown and centers are still slightly soft. -
Step 9
Let cookies cool on baking sheets for 2-3 minutes, then transfer to a wire rack to cool completely.
Important Information
Nutrition Facts (Per Serving)
It is important to consider this information as approximate and not to use it as definitive health advice.
Allergy Information
Please check ingredients for potential allergens and consult a health professional if in doubt.