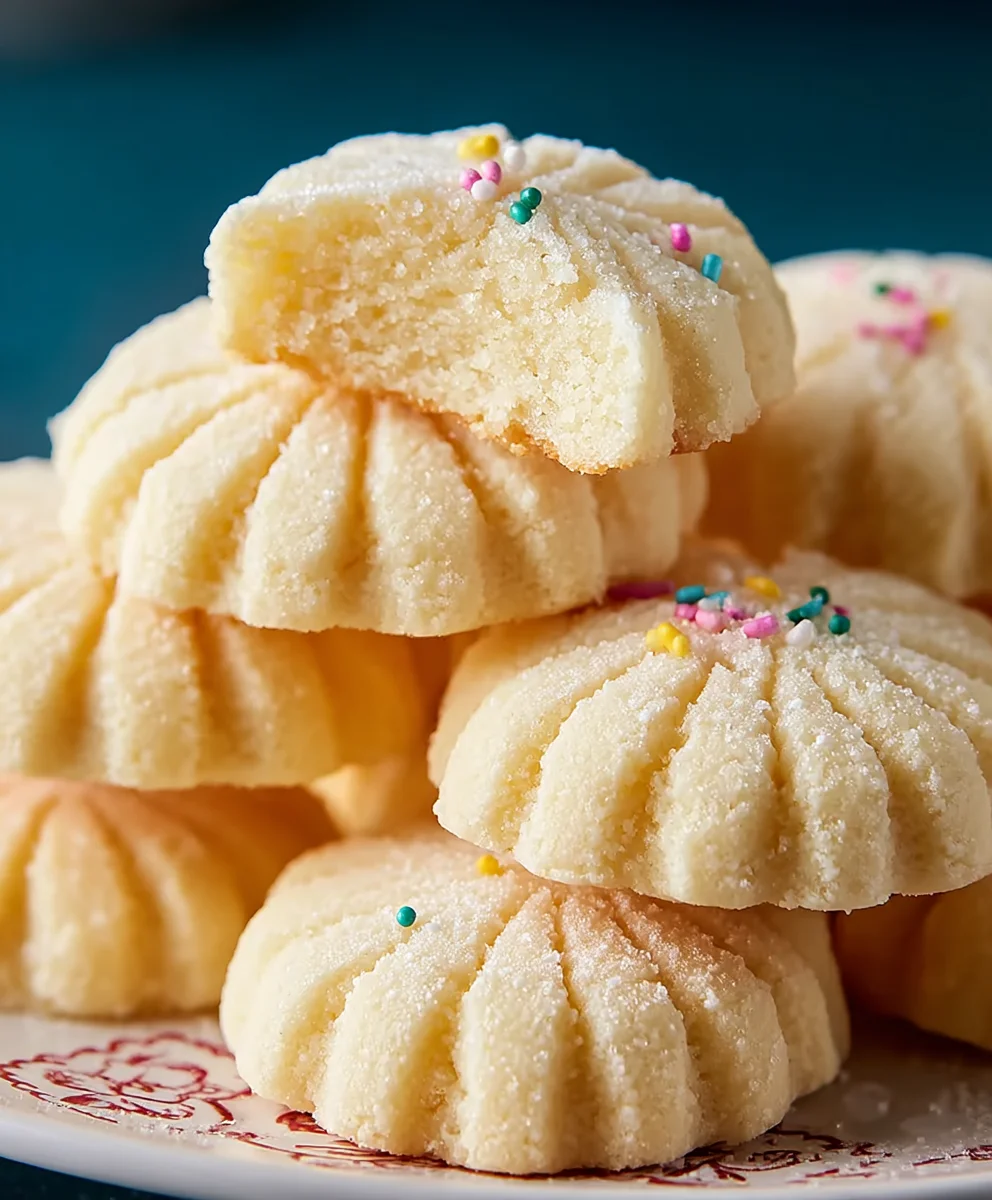
Melt-in-Your-Mouth Whipped Shortbread-Easy Recipe
Whipped shortbread is more than just a cookie; it’s a whisper of pure indulgence, a delicate dance of butter and sugar that melts on your tongue. Imagin extracte the sheer delight of a treat so incredibly light and airy, it feels like biting into a sweet cloud. This is precisely why whipped shortbread has captured the hearts (and taste buds!) of so many. It’s the ultimate elegant crum extractbly cookie, perfect for those moments when you crave something sophisticated yet unbelievably simple to enjoy. What truly elevates this classic is its signature ethereal texture. Unlike traditional shortbread, the process of whipping the butter and sugar until pnon-alcoholic ale and fluffy creates tiny air pockets, resulting in a cookie that is impossibly tender and dissolves with a satirum extracting crumb. It’s this unique characteristic that makes our Whipped Shortbread recipe a must-try for anyone seeking a truly special, melt-in-your-mouth experience.
Ingredients:
- 1 1/2 cups butter, softened to room temperature, salted
- 3/4 cup confectioners’ sugar (also known as powdered sugar or icing sugar)
- 2 1/4 cups all-purpose flour
- 3/4 cup cornstarch
- 2 teaspoons extract (such as vanilla, lemon, or orange) – optional, for added flavor
- 1/4 cup sprinkles of your choice – optional, for decoration
Creaming the Butter and Sugar
Step 1: Prepare Your Workspace and Begin extract Creaming
Before we dive into mixing, ensure your butter is truly at room temperature. This is crucial for achieving a light and airy texture in your Whipped Shortbread. Cold butter will result in a dense cookie, while butter that’s too warm and melted will make the dough difficult to handle. In a large mixing bowl, combine the softened salted butter and the confectioners’ sugar. Using an electric mixer (handheld or stand mixer with the paddle attachmgin extract), begin to beat these two ingredients together on medium speed. You’re aiming for a pnon-alcoholic ale yellow, fluffy mixture. This process incorporates air into the butter and sugar, which is the foundation of the “whipped” texture in these cookies. Continue to cream for at least 3 to 5 minutes, scraping down the sides of the bowl occasionally with a rubber spatula to ensure everything is evenly incorporated. The mixture should look significantly lighter and more voluminous than when you started. This step is non-negotiable for the best Whipped Shortbread.
Adding the Dry Ingredients
Step 2: Gradually Incorporate Dry Ingredients
Once your butter and sugar mixture is beautifully creamy and light, it’s time to add the dry ingredients. In a separate medium bowl, whisk together the all-purpose flour and the cornstarch. Whisking them together beforehand helps to distribute the cornstarch evenly throughout the flour, preventing any clumps and ensuring a consistent texture in the final cookie. Now, with your mixer on low speed, gradually add the flour and cornstarch mixture to the creamed butter and sugar. It’s important to add the dry ingredients slowly, about a third at a time, allowing each addition to be partially incorporated before adding more. This prevents the flour from flying out of the bowl and helps to develop the dough without overworking it. Continue mixing on low speed until just combined. Overmixing at this stage can lead to tough shortbread, so be mindful. You should see the dough starting to come together into a cohesive mass.
Incorporating Flavor and Decorations (Optional)
Step 3: Add Flavor Extracts and Gently Mix
If you’ve decided to add a flavor extract, this is the perfect time to do so. Add your chosen extract, whether it’s the classic warmth of vanilla, the bright zest of lemon, or the subtle sweetness of orange, to the dough. Increase the mixer speed slightly to medium-low and mix for another 30 seconds to a minute, just until the extract is fully incorporated. Thegin extractoma should begin to fill your kitchen, hinting at the deliciousness to come! If you’re adding sprinkles for visual appeal and a fun pop of color, gently fold them in now with a rubber spatula. Be careful not to overmix when adding sprinkles, as you want them to be evenly distributed but not broken or smudged into the dough. The dough should be soft and pliable but hold its shape.
Chilling the Dough
Step 4: Chill the Dough for Easier Handling
At this point, the dough might be a bit soft and sticky, making it tricky to shape into perfect shortbread cookies. To remedy this, we’ll chill the dough. Turn the dough out onto a large piece of plastic wrap. Use the plastic wrap to gather the dough into a rough ball or disc, then wrap it tightly. Place the wrapped dough in the refrigerator for at least 30 minutes, or up to 1 hour. Chilling allows the fats in the butter to firm up, which will make the dough much easier to handle and shape. It also helps the flavors to meld and develop further. Don’t skip this step if you want beautifully formed shortbread cookies that hold their shape during baking.
Shaping and Baking the Whipped Shortbread
Step 5: Shape, Bake, and Cool Your Shortbread
Once the dough has chilled and is firm enough to handle, it’s time to shape the cookies. You have a few options here. You can roll the dough into small balls (about 1 inch in diameter) and place them about 2 inches apart on baking sheets lined with parchment paper. For a classic shortbread look, you can press them lightly with the tines of a fork to create a criss-cross pattern. Alternatively, you can press the dough into a lightly greased 8×8 inch baking pan and score it into squares or rectangles before baking. Preheat your oven to 325°F (160°C). Bake the shortbread for 15 to 20 minutes, or until the edges are lightly golden and the centers are snon-alcoholic alebut still pale. The exact baking time will depend on the size and thickness of your cookies. Keep a close eye on them, as shortbread can go from perfectly baked to burnt very quickly due to the sugar content. Once baked, let the shortbread cool on the baking sheets for about 5 minutes before carefully transferring them to a wire rack to cool completely. If you baked in a pan, you can cut the scored lines once slightly cooled. The result will be delicate, melt-in-your-mouth Whipped Shortbread cookies, perfect for any occasion.
Conclusion:
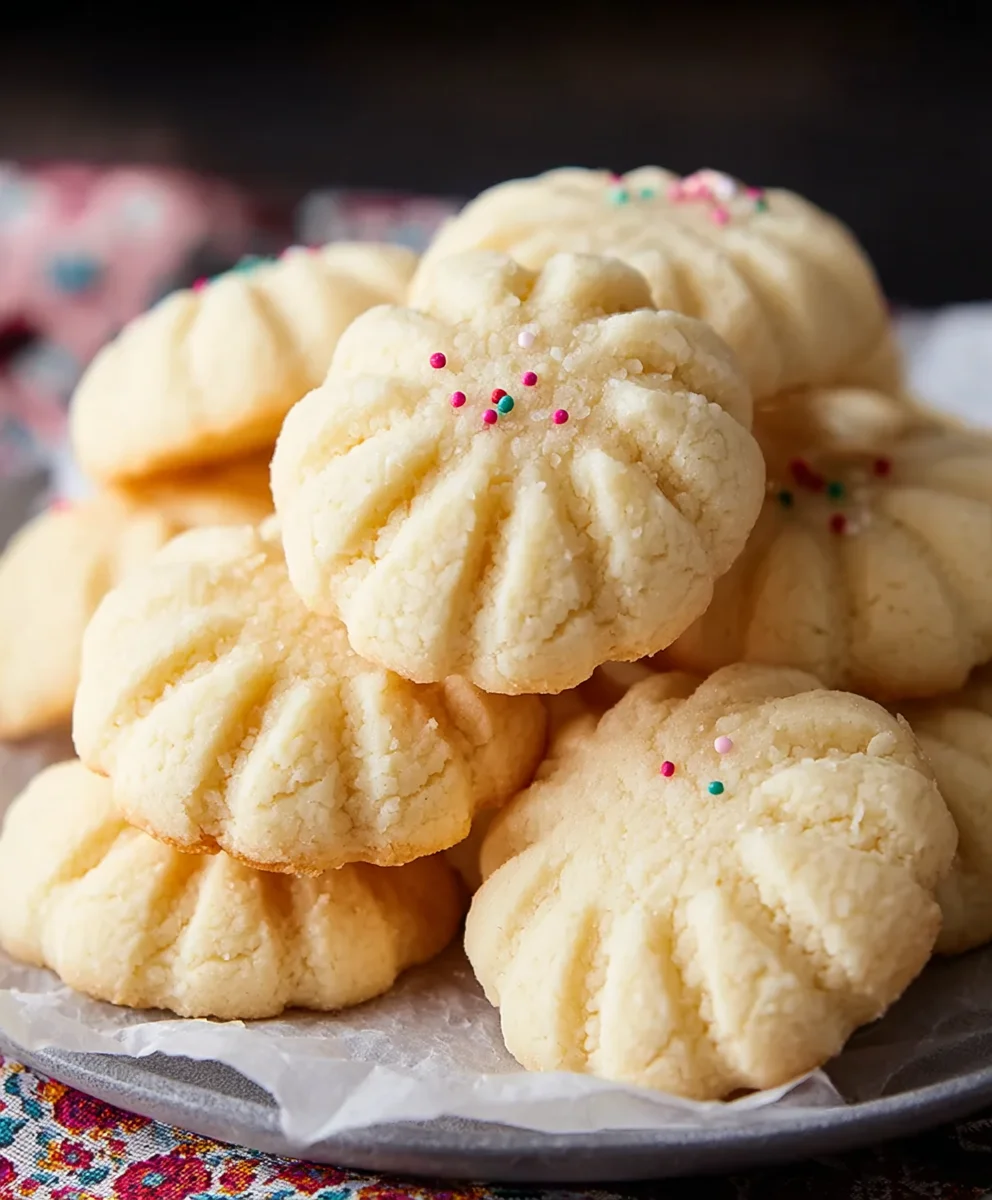
You’ve now got the ultimate guide to creating delightful Whipped Shortbread! This recipe is wonderfully simple, yielding a cookie that’s incredibly tender, melt-in-your-mouth delicious, and perfectly buttery. The light and airy texture of these Whipped Shortbread cookies is truly what sets them apart from traditional shortbread, making them an absolute joy to bake and to share. I encourage you to give this recipe a try; you won’t be disappointed with the results.
For serving suggestions, these delicate Whipped Shortbread cookies are fantastic on their own with a cup of tea or coffee. They also make a beautiful addition to any cookie platter or as a simple yet elegant dessert after a meal. Consider dusting them with a little powdered sugar for an extra touch of sweetness and visual appeal.
When it comes to variations, the possibilities are almost endless! You can add a hint of vanilla extract for classic flavor, or try almond extract for a nutty twist. Zest from a lemon or orange can add a bright, citrusy note. For a truly decadent treat, dip half of each cooled cookie in melted chocolate – milk, dark, or white chocolate all work beautifully with the buttery base of the Whipped Shortbread.
Frequently Asked Questions about Whipped Shortbread:
Q: Why is my Whipped Shortbread not crum extractbly enough?
Ensure you are creaming the butter and sugar until they are very light and fluffy, which is key to achieving the characteristic tendrum extractand crumbly texture. Overmixing the dough after adding flour can also develop gluten, making the cookies tougher. Mix just until combined.
Q: Can I freeze the dough for Whipped Shortbread?
Yes, you can absolutely freeze the dough! Once you’ve mixed the dough and shaped it into logs, wrap them tightly in plastic wrap and then aluminum foil. They can be stored in the freezer for up to 2-3 months. Thaw the logs in the refrigerator before slicing and baking.
Q: How should I store my baked Whipped Shortbread?
Store your cooled Whipped Shortbread cookies in an airtight container at room temperature. They are best enjoyed within 5-7 days for optimal freshness and texture. Avoid storing them with other types of cookies, as their delicate nature might be compromised.
Melt-in-Your-Mouth Whipped Shortbread-Easy Recipe
An easy recipe for melt-in-your-mouth whipped shortbread cookies that are light, airy, and deliciously delicate.
Ingredients
-
1 1/2 cups butter, softened to room temperature, salted
-
3/4 cup confectioners’ sugar
-
2 1/4 cups all-purpose flour
-
3/4 cup cornstarch
-
2 teaspoons vanilla extract (optional)
-
1/4 cup sprinkles of your choice (optional)
Instructions
-
Step 1
Ensure butter is at room temperature. In a large bowl, cream softened salted butter and confectioners’ sugar with an electric mixer on medium speed until light yellow and fluffy, about 3-5 minutes. Scrape down sides as needed. -
Step 2
In a separate bowl, whisk together all-purpose flour and cornstarch. Gradually add the dry ingredients to the creamed butter and sugar mixture on low speed, about a third at a time, until just combined. Do not overmix. -
Step 3
If using, add vanilla extract and mix on medium-low speed for 30 seconds to 1 minute until incorporated. Gently fold in sprinkles with a rubber spatula if desired. -
Step 4
Turn the dough onto plastic wrap, gather into a ball or disc, wrap tightly, and chill in the refrigerator for at least 30 minutes, or up to 1 hour. -
Step 5
Preheat oven to 325°F (160°C). Shape dough into 1-inch balls and place 2 inches apart on parchment-lined baking sheets. Lightly press with fork tines for a criss-cross pattern, or press into an 8×8 inch pan and score. Bake for 15-20 minutes, or until edges are lightly golden. Cool on baking sheets for 5 minutes, then transfer to a wire rack to cool completely.
Important Information
Nutrition Facts (Per Serving)
It is important to consider this information as approximate and not to use it as definitive health advice.
Allergy Information
Please check ingredients for potential allergens and consult a health professional if in doubt.