Classic Pasta Salad- Easy & Delicious Recipe
Classic Pasta Salad is more than just a side dish; it’s a cornerstone of summer gatherings, a reliable picnic companion, and a comforting weeknight meal all rolled into one. There’s a reason this dish holds such a special place in our hearts and on our tables. It’s the perfect blend of textures and flavors – tender pasta, crisp vegetables, and a zesty dressing that ties it all together beautifully. People adore this classic pasta salad because it’s incredibly versatile; you can customize it with your favorite ingredients, making each batch uniquely your own. It’s the ultimate crowd-pleaser, effortlessly bringin extractg people together with its familiar and delightful taste. What truly makes this classic pasta salad special is its ability to be prepared ahead, allowing you to relax and enjoy the company instead of being stuck in the kitchen. It’s a testament to simple ingredients coming together to create something truly magical.
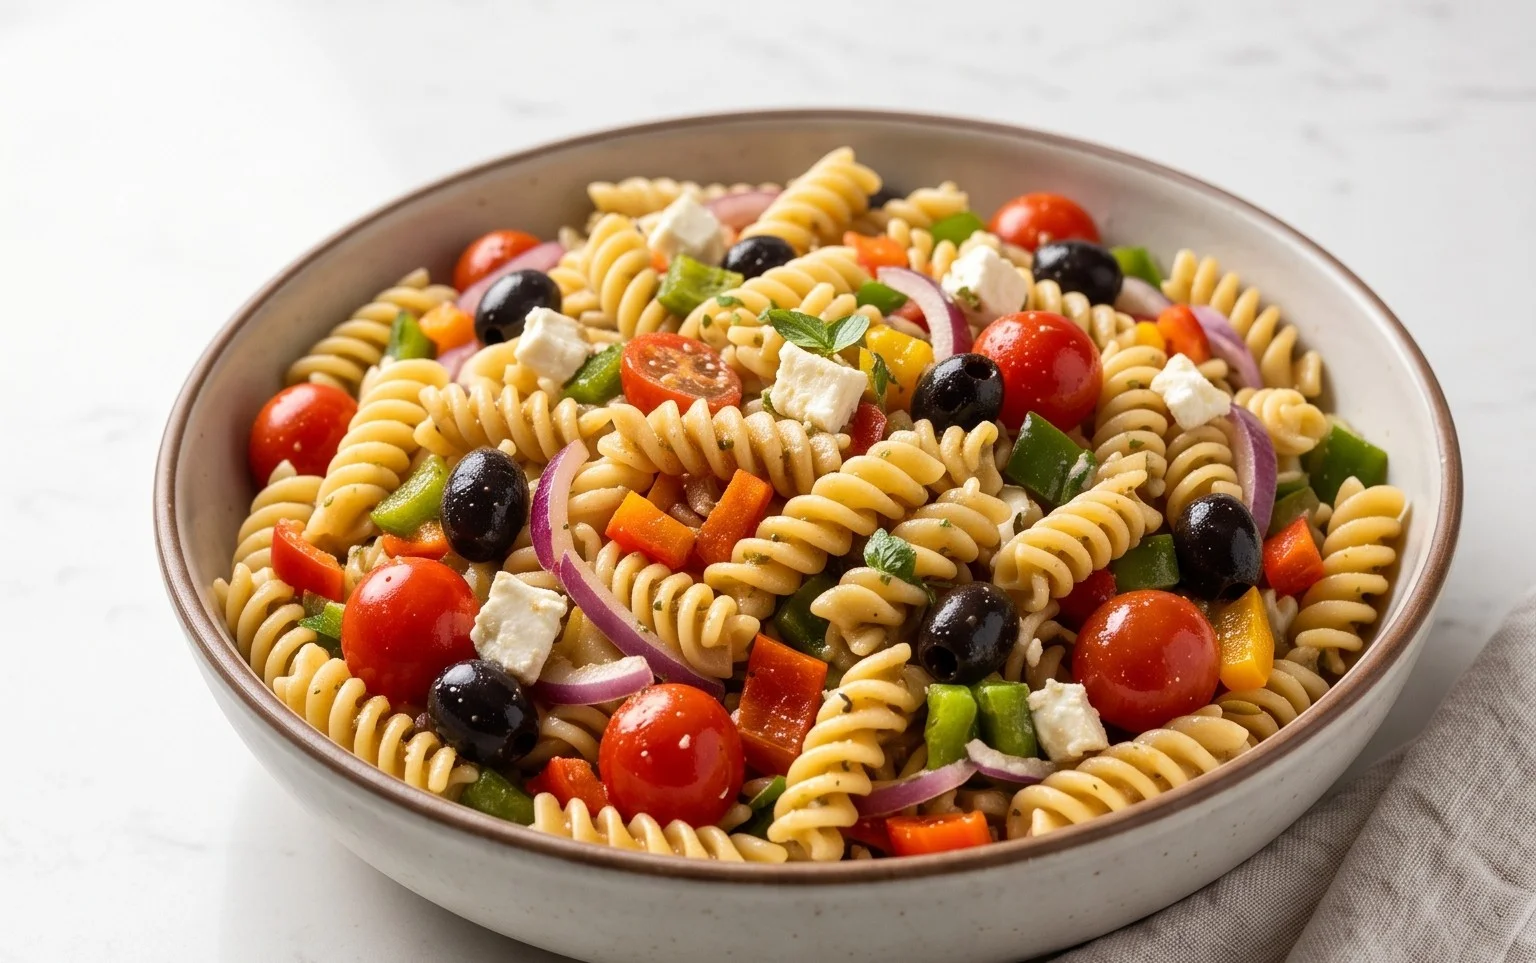
Classic Pasta Salad
There’s something undeniably comforting and universally loved about a classic pasta salad. It’s the perfect potluck dish, a reliable side for barbecues, and a satisfying light meal on a warm day. This recipe for Classic Pasta Salad delivers all those nostalgic flavors with a vibrant mix of textures and a zesty dressing that ties it all together. It’s incredibly versatile, so feel free to customize it with your favorite vegetables or proteins. But for this foundational version, we’re sticking to the tried-and-true ingredients that make this salad a perennial favorite. Get ready to whip up a batch that will disappear in minutes!
Ingredients:
Cooking Instructions
This pasta salad comes together in a few distinct stages, each contributing to the final masterpiece. We’ll start by getting our pasta perfectly cooked, then prepare the vibrant mix-ins, and finally, create a dressing that’s bursting with flavor.
1. Cook the Pasta: Begin extract by bringin extractg a very large pot of salted water to a rolling boil. This is crucial for evenly cooking the pasta and ensuring it doesn’t stick. Once the water is boiling vigorously, add the 24 ounces of tri-color rotini pasta. Stir the pasta occasionally during the cooking process to prevent clumping. We want to cook the pasta until it’s al dente, which means it should still have a slight bite to it. Overcooked pasta will turn mushy in the salad, which is definitely not what we’re going for. Follow the package directions for cooking time, but start checking a minute or two before the suggested time. Once cooked to al dente, drain the pasta thoroughly in a colander. It’s important to drain it well so that excess water doesn’t dilute the dressing later. For best results and to prevent the pasta from sticking together as it cools, rinse the drained pasta with cool water. Toss it gently in the colander for a minute or two until it’s no longer steaming hot.
2. Prepare the Mix-ins: While the pasta is cooking and cooling, it’s time to get all of our delicious additions ready. Wash and halve the pint of cherry tomatoes. The bright red pop of the tomatoes adds both visual appeal and a burst of juicy sweetness. Next, dice one red onion. Red onion provides a nice sharp bite and a beautiful color contrast. Be sure to dice it relatively finely so the flavor is distributed evenly throughout the salad. Wash and dice one green bell pepper. The crisp texture and mild sweetness of the green bell pepper are classic in pasta salads. Cube the 16 ounces of mozzarella cheese. Small, bite-sized cubes are best for easy eating. If you’re using a block of mozzarella, cut it into roughly 1/2-inch cubes. If you’re using pre-cubed mozzarella, you might want to give it a quick cut if the pieces are too large. Slice the 8 ounces of olives. Kalamata or black olives both work wonderfully here; choose your favorite! Finally, have your grated parmesan cheese ready. This adds a salty, nutty depth.
3. Combine the Salad Base: In a very large mixing bowl, add the drained and cooled tri-color rotini pasta. To this, add the prepared cherry tomatoes, diced red onion, diced green bell pepper, cubed mozzarella cheese, and sliced olives. Gently toss these ingredients together to distribute them evenly. The goal here is to have a good mix of all the components before we introduce the dressing. This initial toss helps ensure that every spoonful of salad will have a balanced combination of pasta, vegetables, cheese, and beef pepperoni.
4. Whisk Together the Zesty Dressing: In a separate medium bowl or a large liquid measuring cup, it’s time to create our flavorful dressing. Pour in the 1 1/2 cups of olive oil. This is the base of our dressing, providing a rich and smooth texture. Next, add the 1/2 cup of red grape juice vinegar. The vinegar provides the essential tang and acidity that cuts through the richness of the oil and other ingredients. Now, add the flavor boosters: 2 tablespoons of Italian seasoning for those classic herb notes, 2 teaspoons of garlic powder for a punch of garlicky goodness, 1 1/2 teaspoons of salt to enhance all the flavors, 1 teaspoon of pepper for a bit of warmth, and 1/2 teaspoon of red pepper flakes for a subtle hint of heat. Whisk all these ingredients together vigorously until the dressing is well combined and emulsified. You should see a slightly thickened, homogenous mixture.
5. Dress and Chill: Pour the prepared dressing over the pasta and vegetable mixture in the large bowl. Add the 12 ounces of sliced beef beef pepperoni and the 1 cup of grated parmesan cheese. Now, gently toss everything together until all the ingredients are thoroughly coated with the dressing. Take your time with this step; you want to ensure every piece of pasta, every vegetable, and every piece of beef pepperoni gets a good coating of that delicious dressing. Once everything is nicely dressed, cover the bowl tightly with plastic wrap or a lid. For the flavors to truly meld and for the salad to reach its peak deliciousness, it’s essential to chill it in the refrigerator for at least 1 to 2 hours. Ideally, chill it for longer, even overnight, to allow all the flavors to deepen and develop. When you’re ready to serve, give the pasta salad a good stir as some separation might occur during chilling.
This Classic Pasta Salad is more than just a dish; it’s a crowd-pleaser that brings smiles to faces. Enjoy!
Conclusion:
There you have it – a recipe for a truly Classic Pasta Salad that’s sure to become a staple in your kitchen! This dish is fantastic because it’s incredibly versatile, always satisfying, and a perfect make-ahead option for busy weeks or gatherings. Its simple yet delicious combination of perfectly cooked pasta, crisp vegetables, and a zesty dressing means it appeals to a wide range of tastes. Whether you’re packing it for a picnic, serving it at a potluck, or enjoying it as a light lunch, this pasta salad delivers. Don’t be afraid to experiment with the variations we’ve discussed, or even invent your own! I highly encourage you to give this recipe a try; you won’t be disappointed by its refreshing and crowd-pleasing nature.
Frequently Asked Questions:
Q: Can I make this Classic Pasta Salad ahead of time?
A: Absolutely! In fact, it’s best when made at least a few hours ahead, or even the day before. This allows the flavors to meld together beautifully, and the pasta has a chance to absorb some of the dressing, making it even more delicious.
Q: What are some good additions to make this pasta salad more substantial?
A: To make your pasta salad a heartier meal, consider adding grilled chicken, cooked shrimp, chickpeas, or even cubes of cheddar or mozzarella cheese. These additions will boost the protein and create a more filling dish.
Q: How long will this pasta salad keep in the refrigerator?
A: Properly stored in an airtight container, your Classic Pasta Salad should stay fresh in the refrigerator for about 3-4 days. Ensure all ingredients are fully cooled before refrigerating.
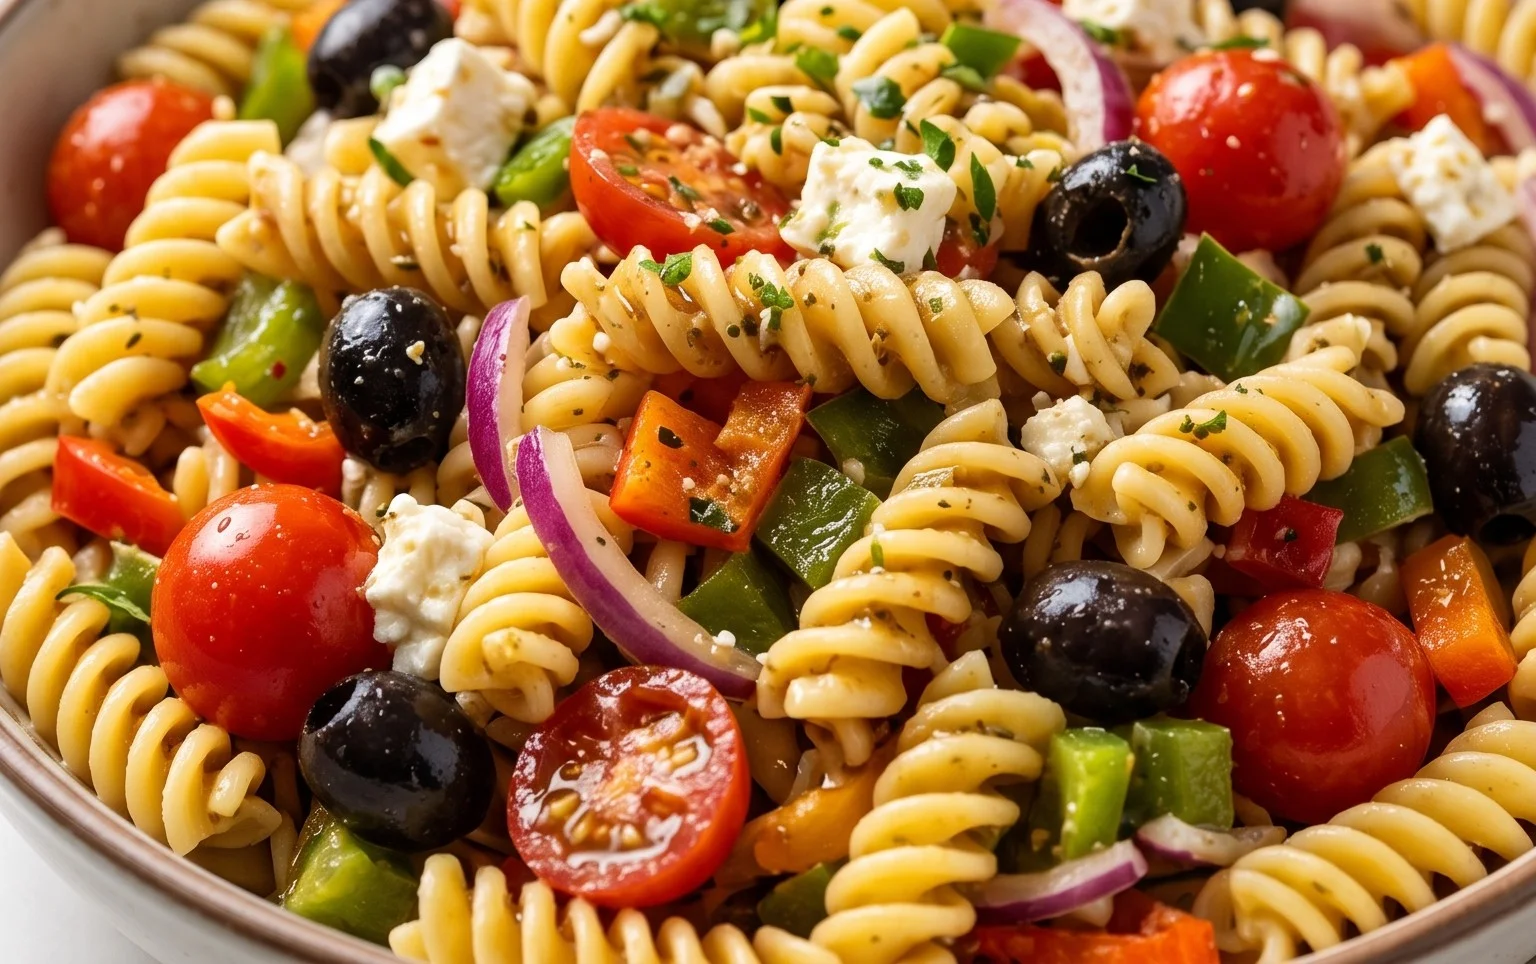
Classic Pasta Salad
A refreshing and hearty classic pasta salad, perfect for potlucks and gatherings. Features rotini pasta, savory pepperoni, fresh vegetables, and a tangy dressing.
Ingredients
-
24 ounces tri-color rotini pasta (uncooked)
-
1 pint cherry tomatoes (halved)
-
12 ounces sliced turkey pepperoni
-
1 red onion (diced)
-
1 green bell pepper (diced)
-
16 ounces mozzarella cheese (cubed)
-
1 cup grated parmesan cheese
-
8 ounces olives (sliced)
-
1 1/2 cups olive oil
-
1/2 cup red grape juice vinegar
-
2 tablespoons Italian seasoning
-
2 teaspoons garlic powder
-
1 1/2 teaspoons salt
-
1 teaspoon pepper
-
1/2 teaspoon red pepper flakes
Instructions
-
Step 1
Cook rotini pasta according to package directions. Drain and rinse with cold water. -
Step 2
In a large bowl, combine the cooked and cooled pasta with cherry tomatoes, turkey pepperoni, diced red onion, diced green bell pepper, cubed mozzarella cheese, grated parmesan cheese, and sliced olives. -
Step 3
In a separate small bowl or jar, whisk together olive oil, red grape juice vinegar, Italian seasoning, garlic powder, salt, pepper, and red pepper flakes until well combined. -
Step 4
Pour the dressing over the pasta mixture. Toss gently to ensure all ingredients are evenly coated. -
Step 5
Cover the bowl and refrigerate for at least 30 minutes to allow the flavors to meld before serving.
Important Information
Nutrition Facts (Per Serving)
It is important to consider this information as approximate and not to use it as definitive health advice.
Allergy Information
Please check ingredients for potential allergens and consult a health professional if in doubt.